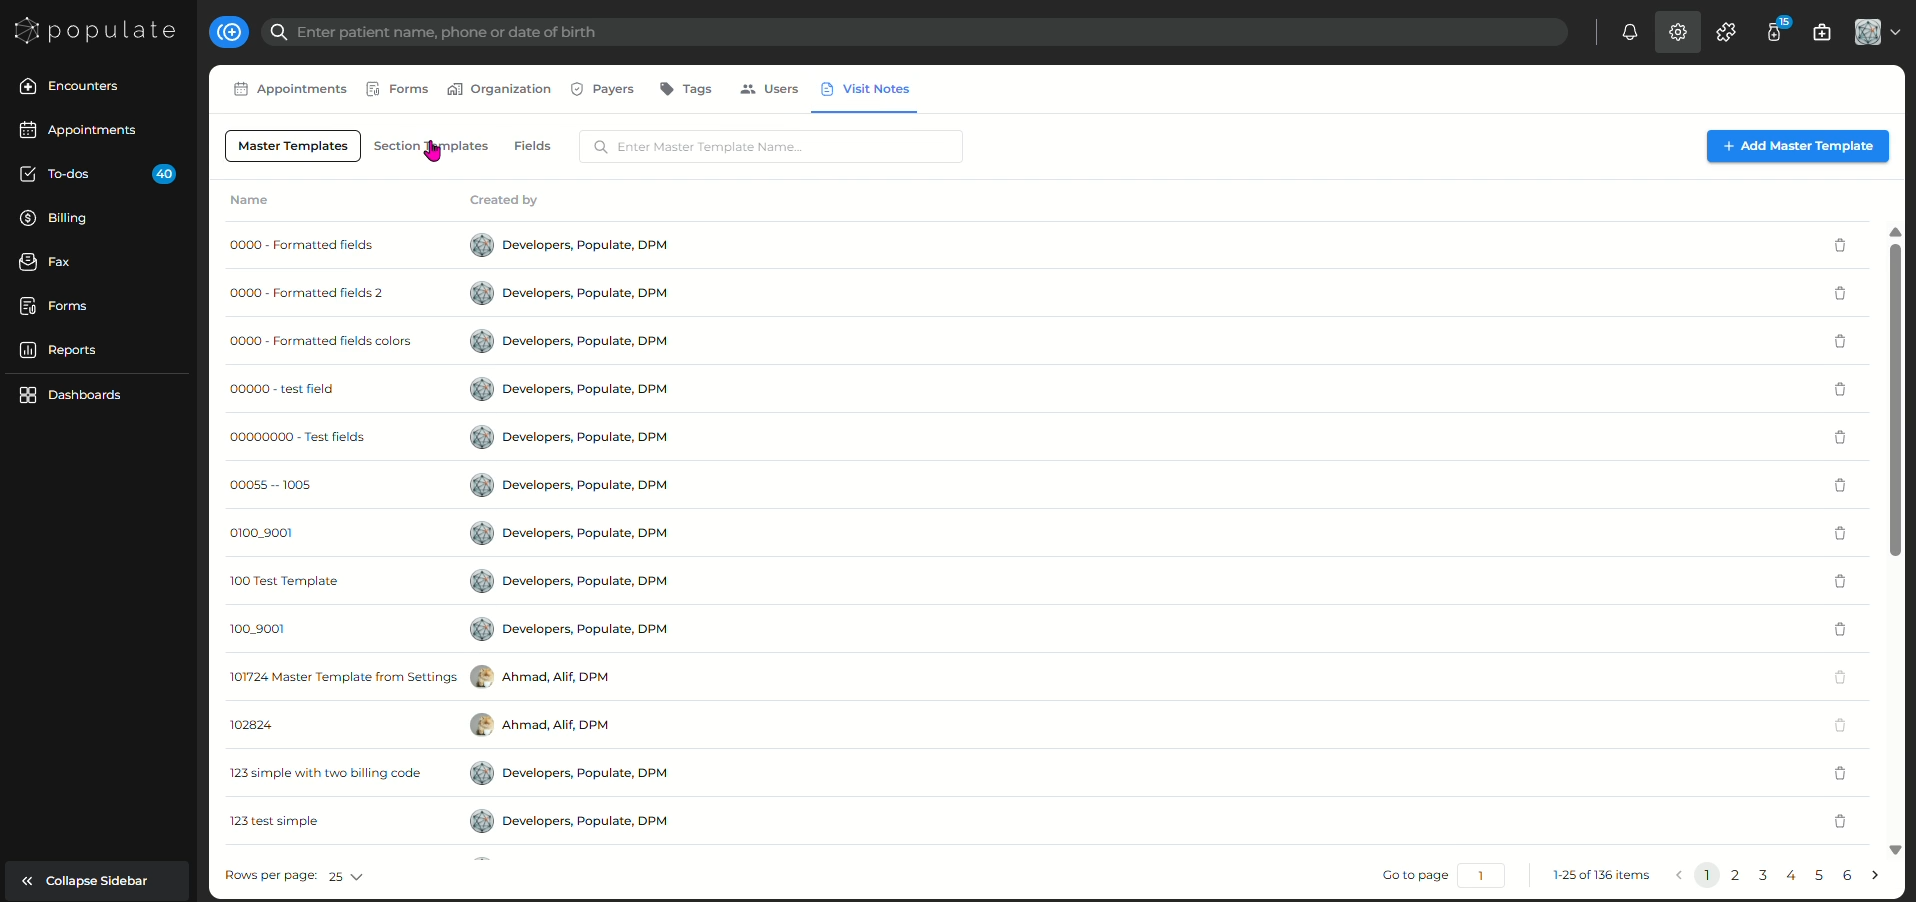
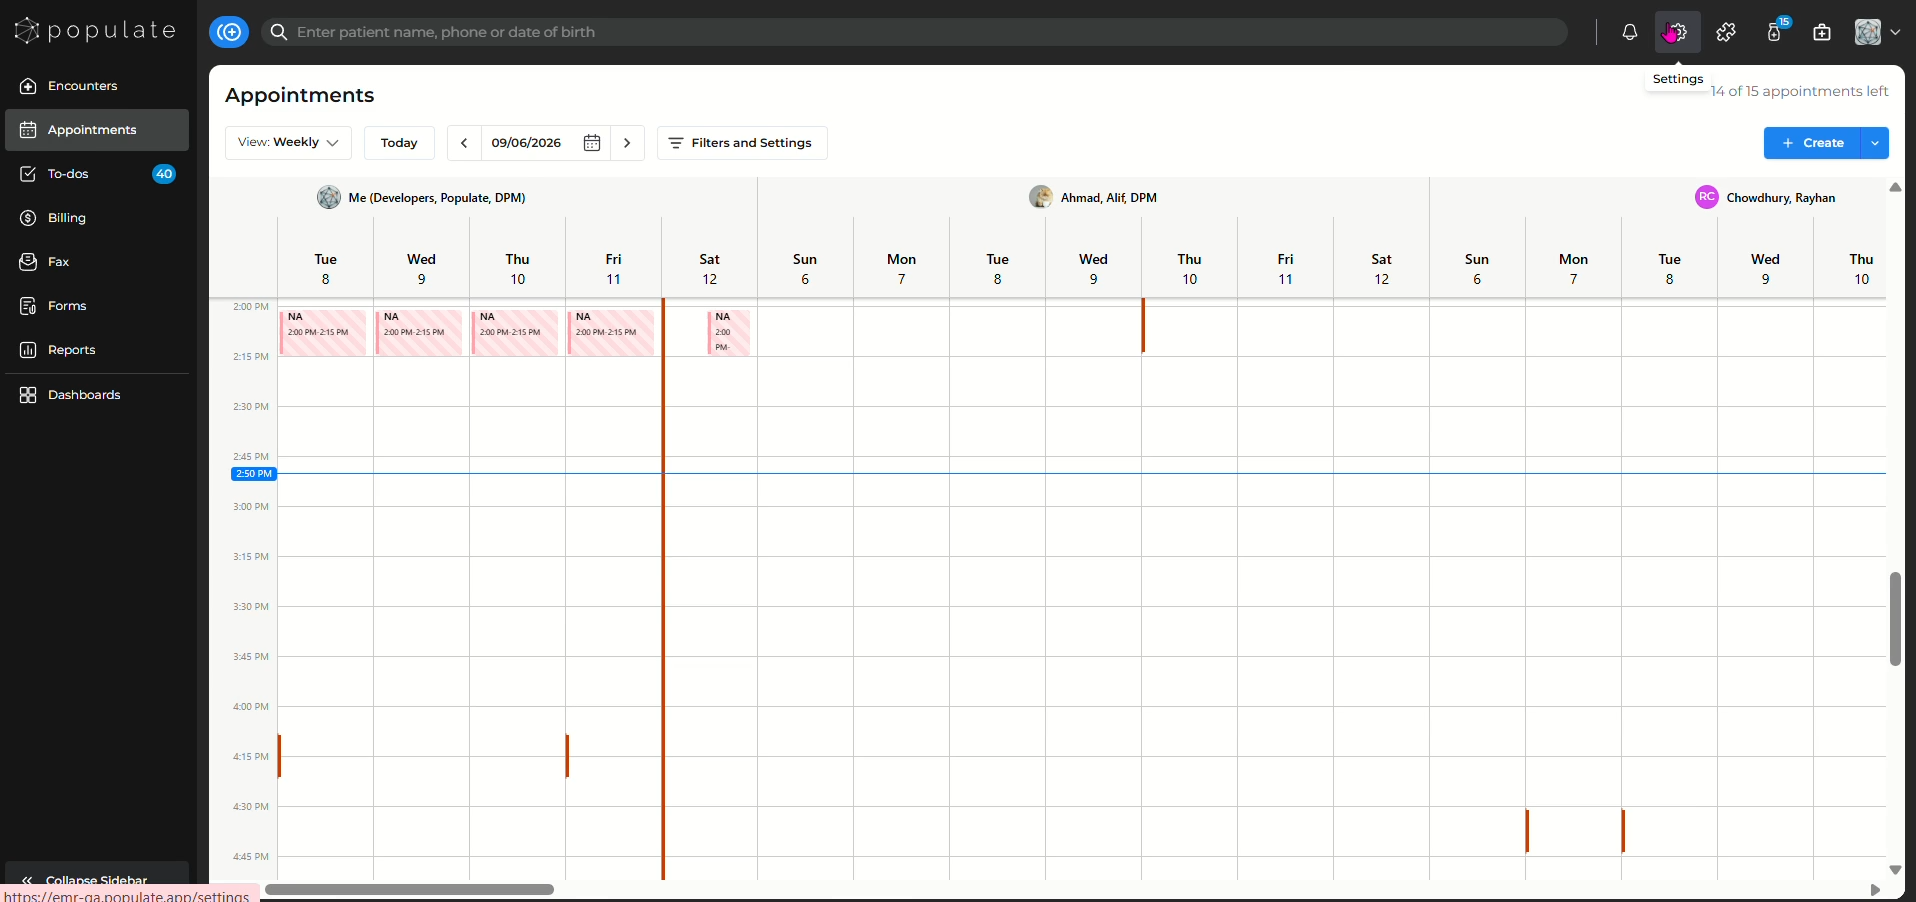
Traverse to "Settings" icon from the taskbar located at the top right of the screen.
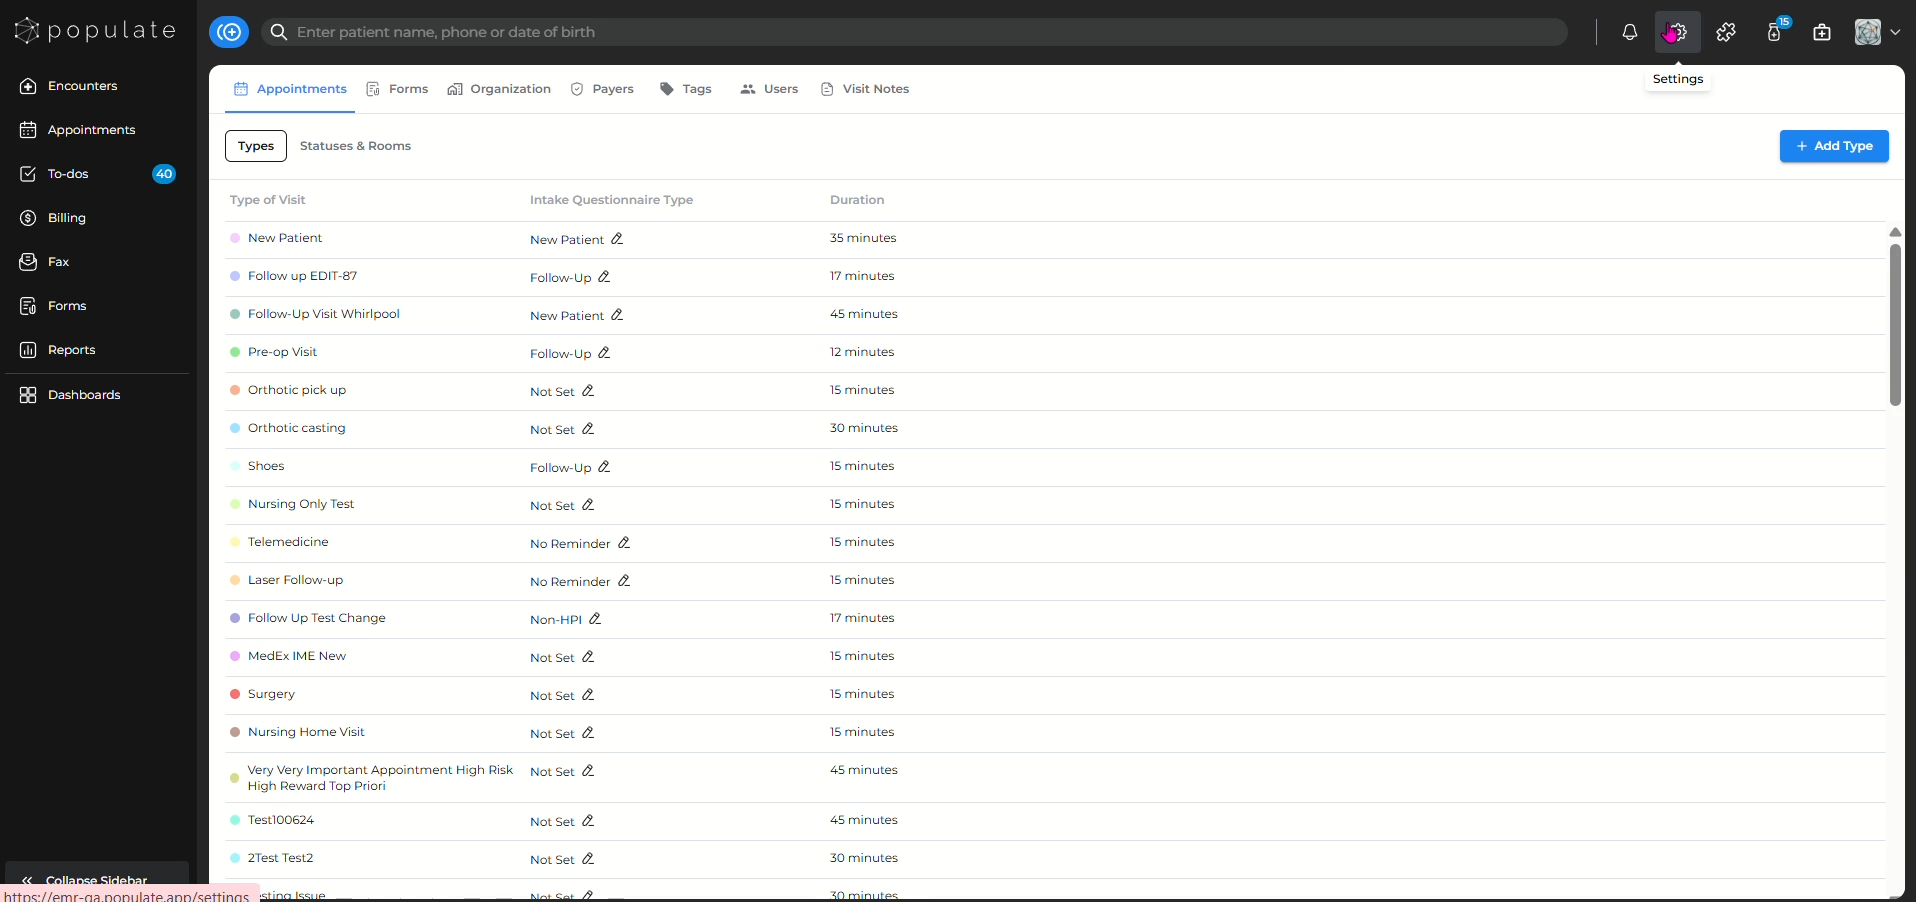
The Settings page will open. Across the top, you will see the following tabs: Appointments, Forms, Organization, Payers, Tags, Users, and Visit Notes. You can move between any of these Settings sections at any time by selecting the corresponding tab at the top of the page.
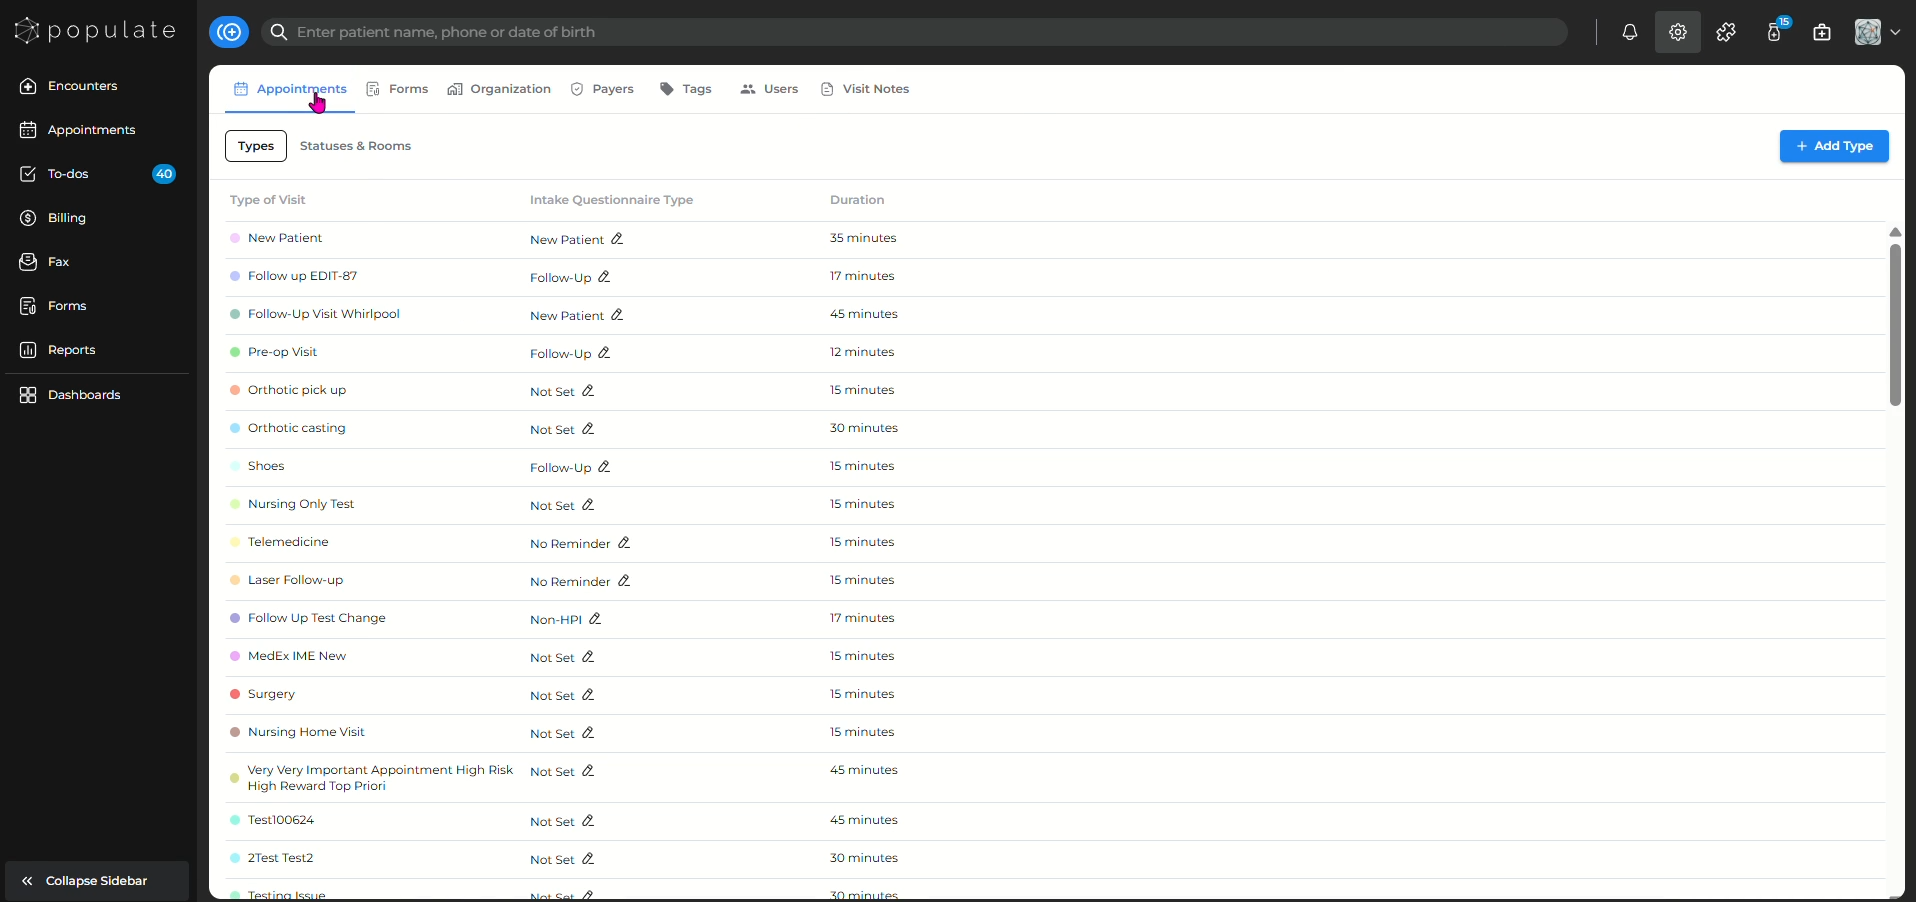
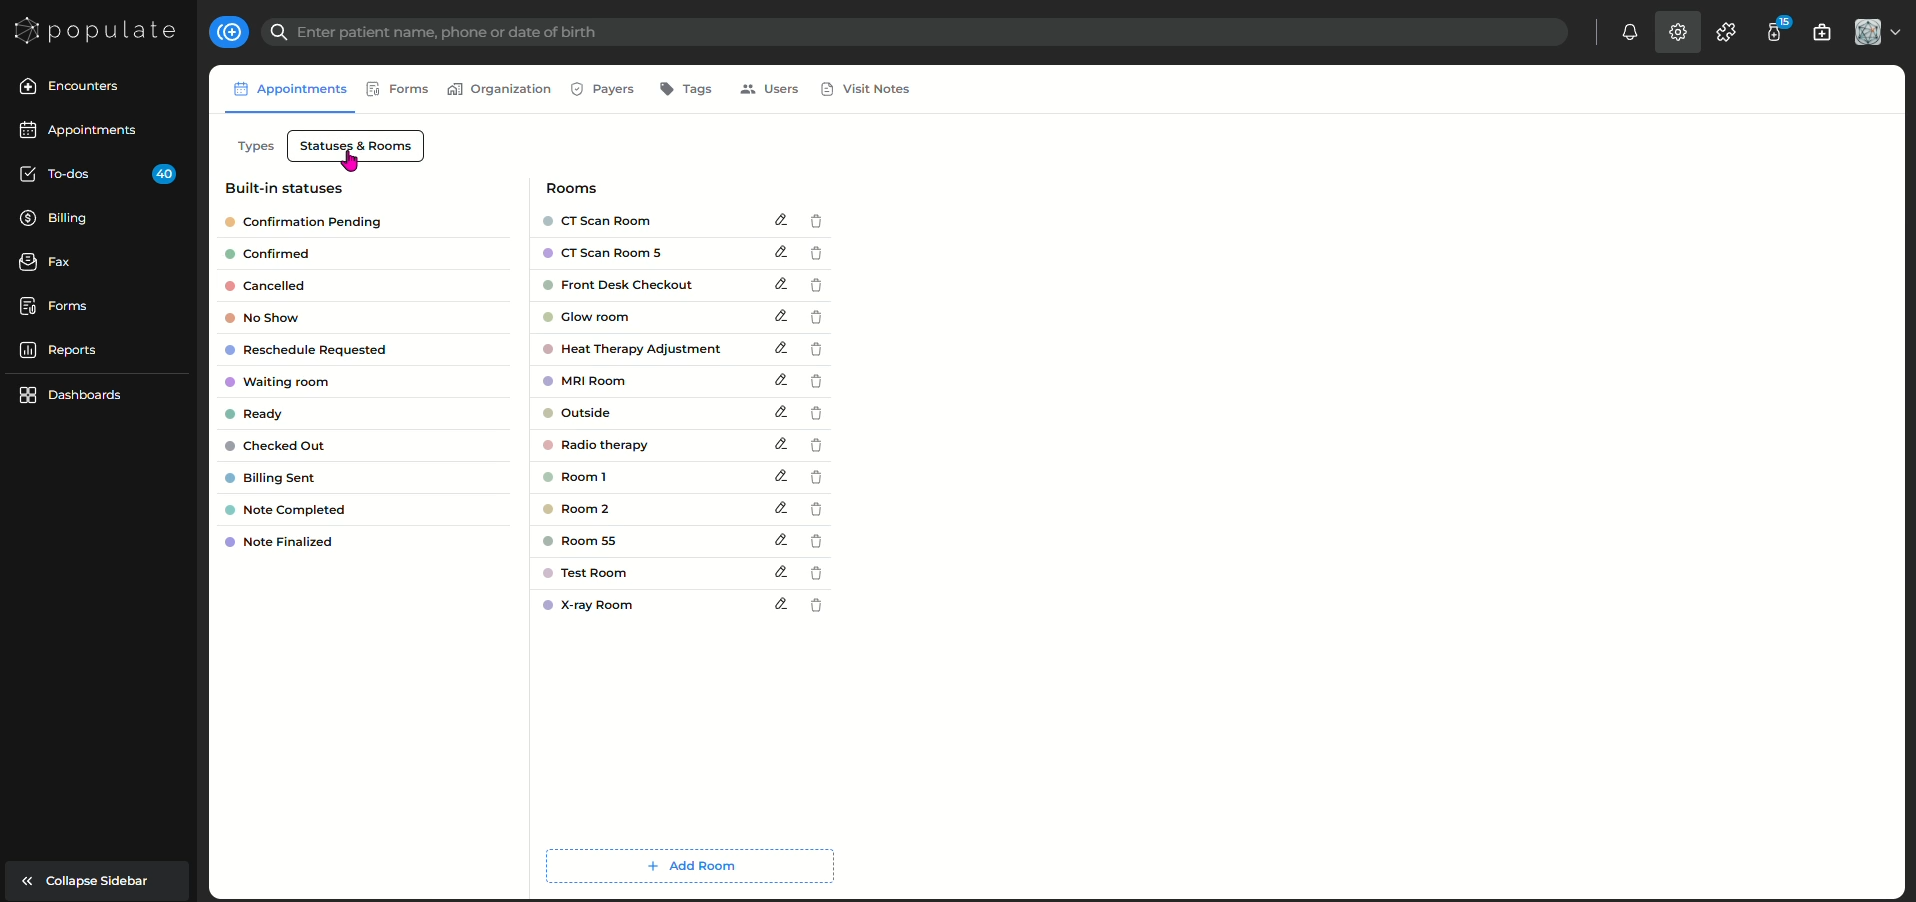
Under Appointments, you can see Types and Statuses & Rooms to manage your appointment-related settings.
Under Types, you can view the different appointment or visit types configured for your organization, along with their Intake Questionnaire Type and Duration.
Select Statuses & Rooms to view the built-in appointment statuses and the rooms configured for your organization.
From here, you can also add, edit, or remove rooms as needed.
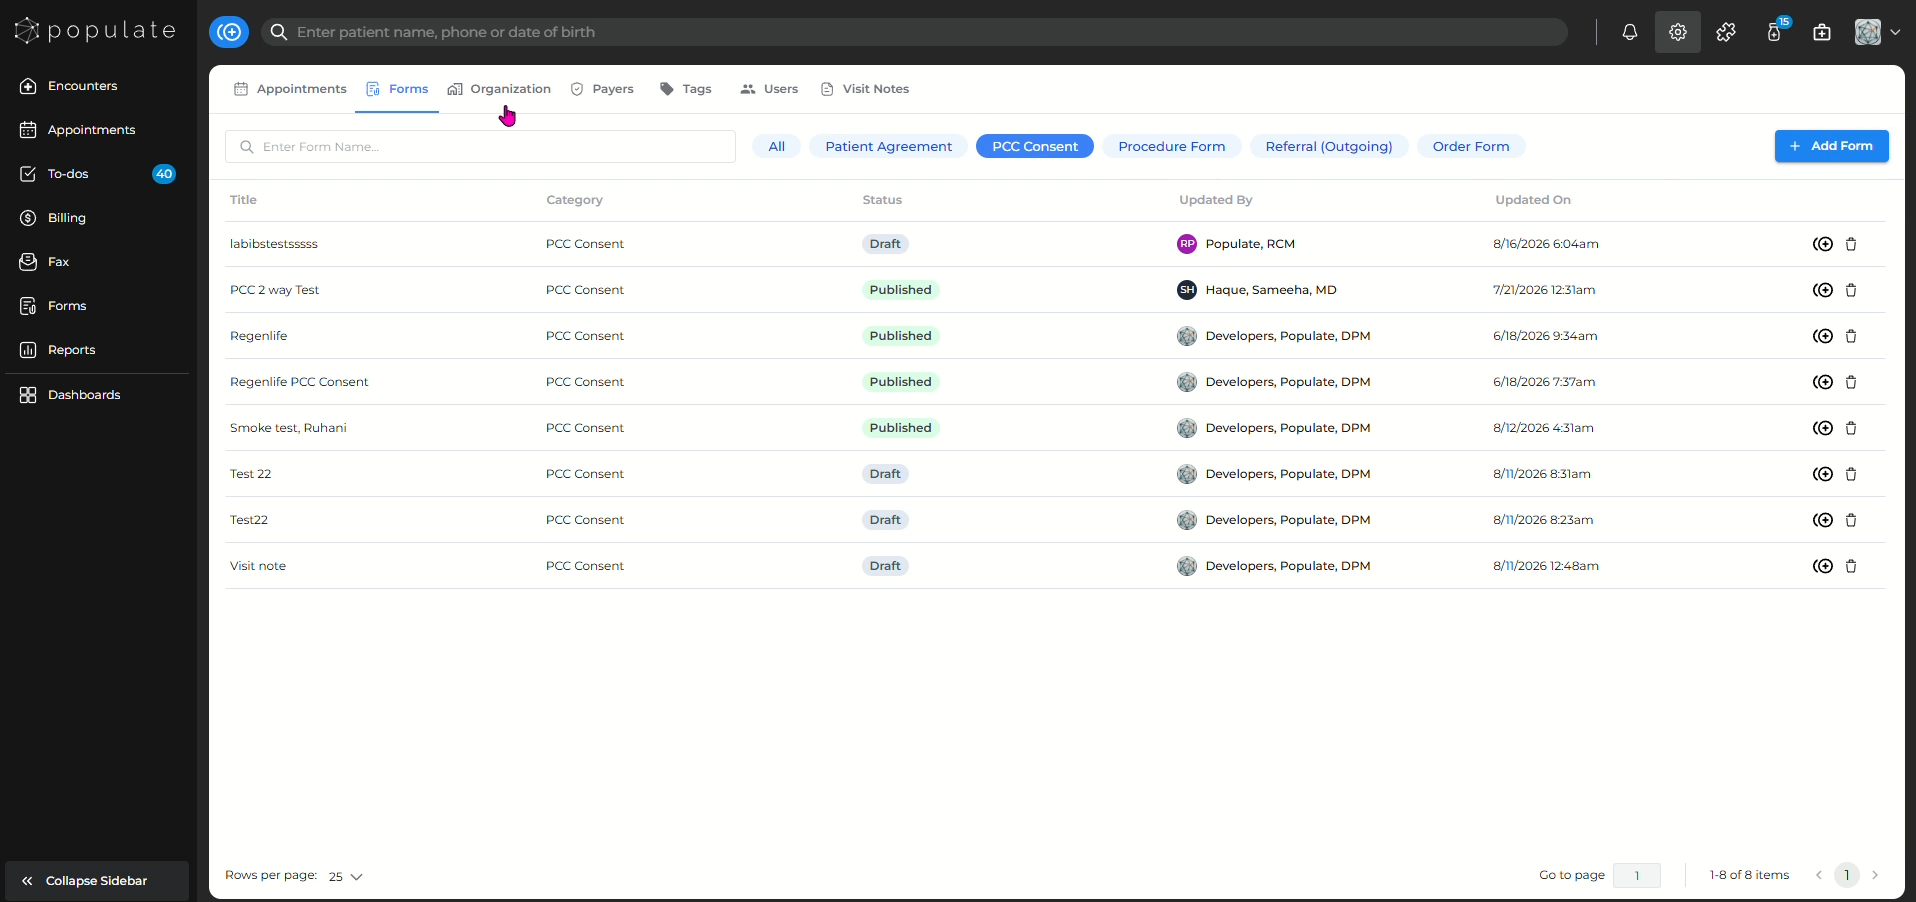
Click Forms to view the forms available within your organization.
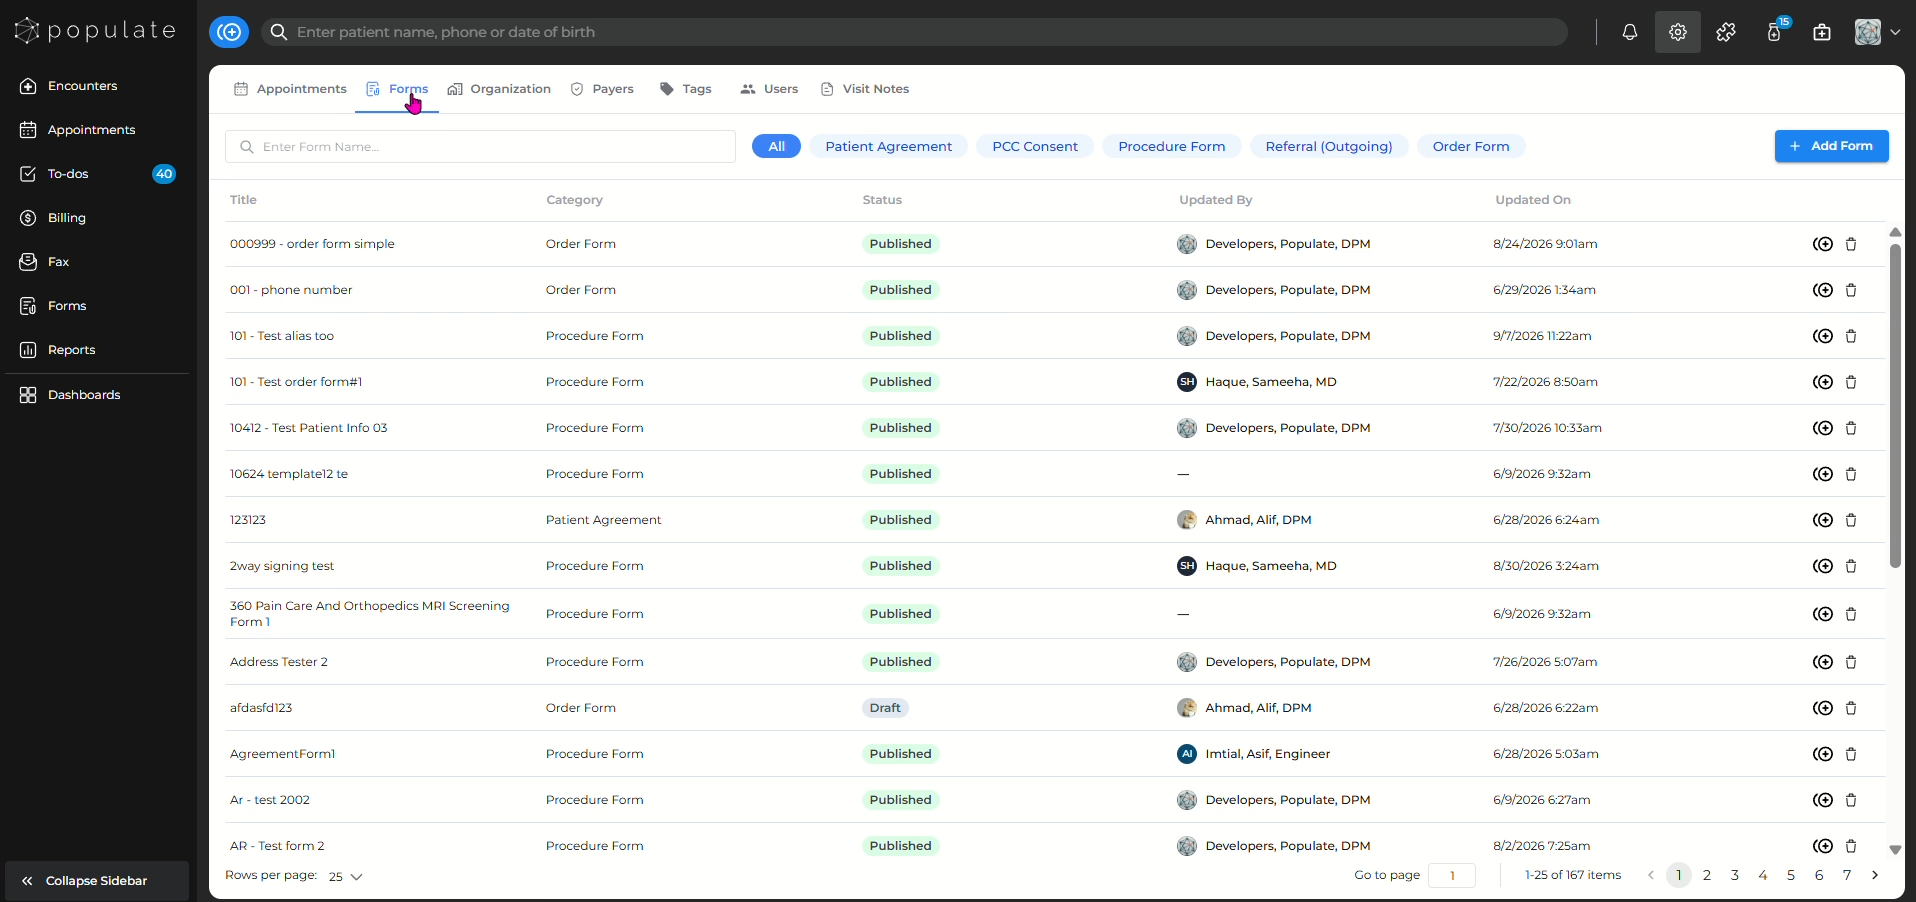
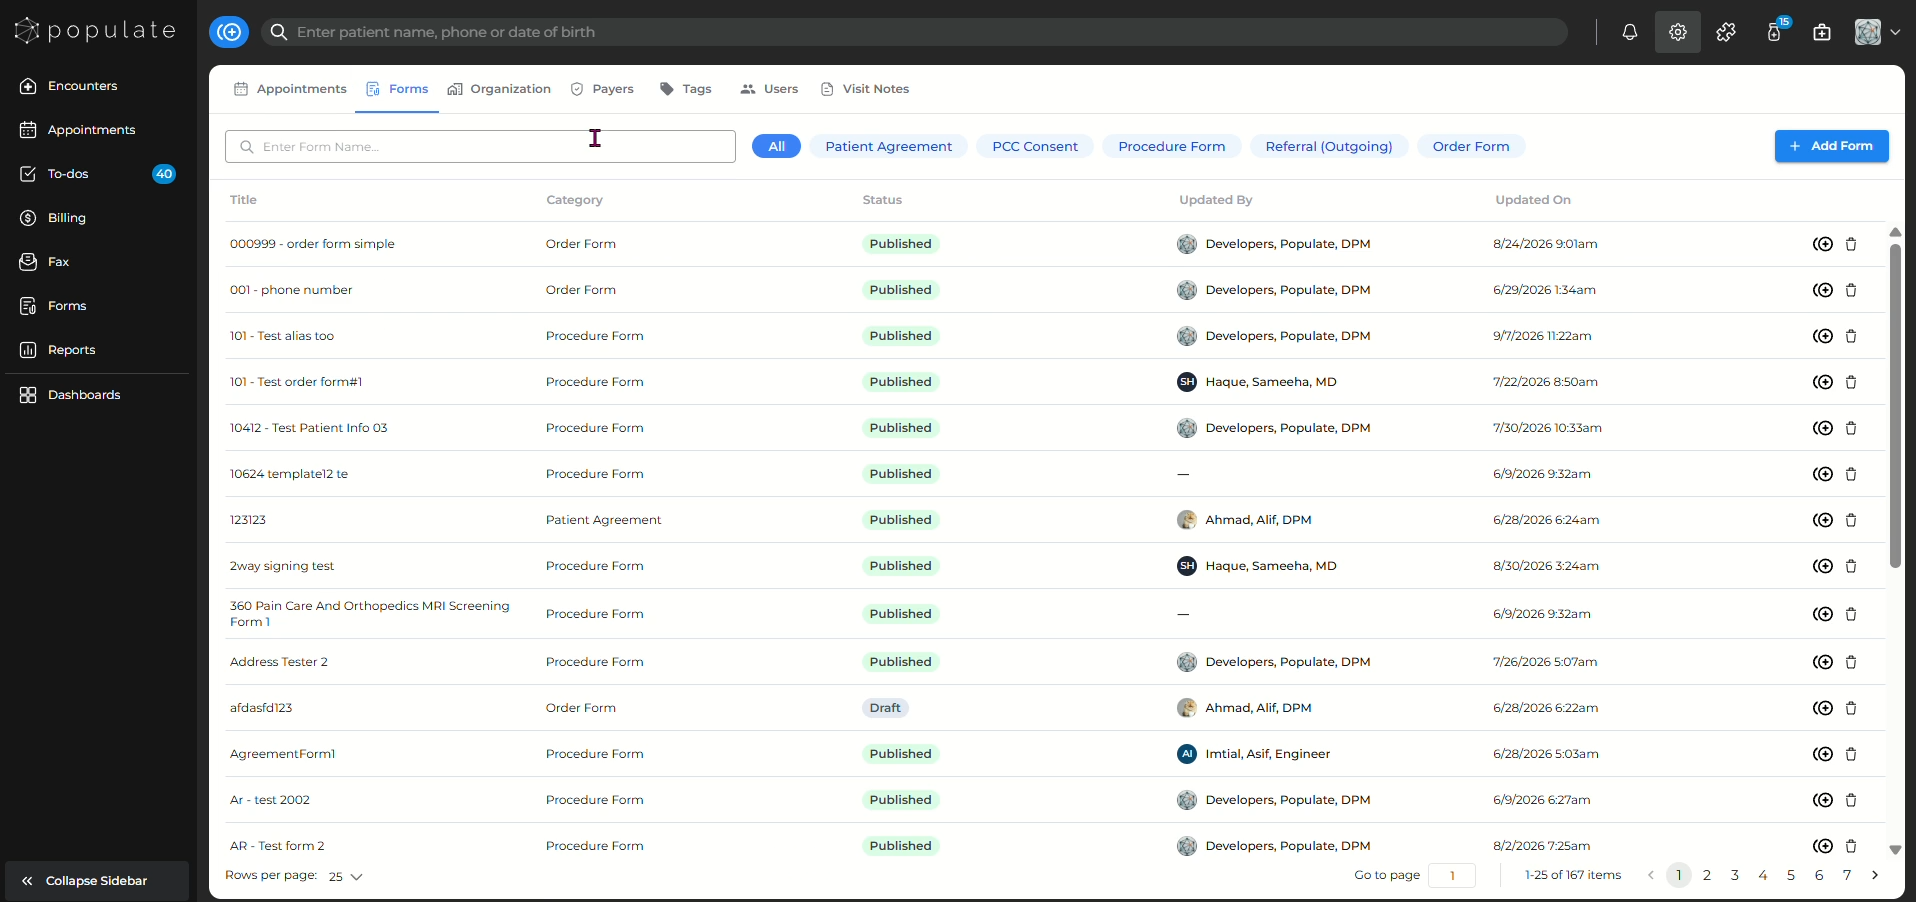
Use the category filters, such as Patient Agreement, PCC Consent, Procedure Form, Referral (Outgoing), or Order Form, to narrow down the list.
Click + Add Form to create or upload a new form.
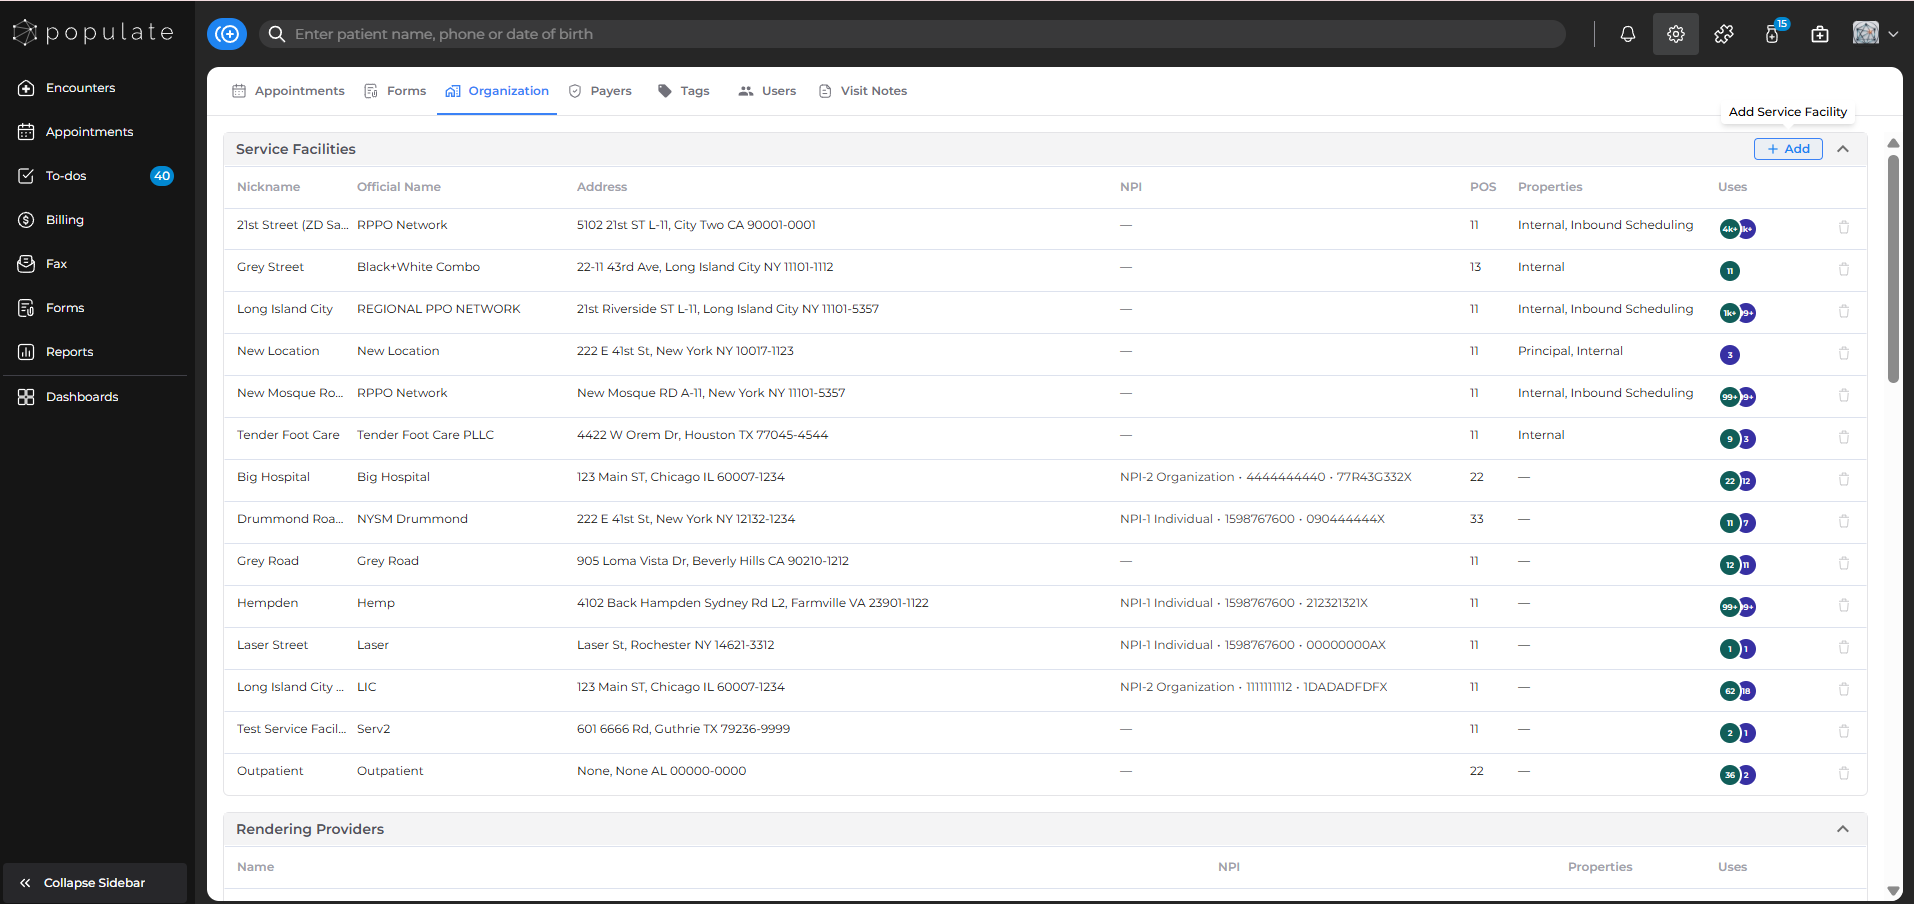
Click Organization to review your organization's configured facilities and providers.
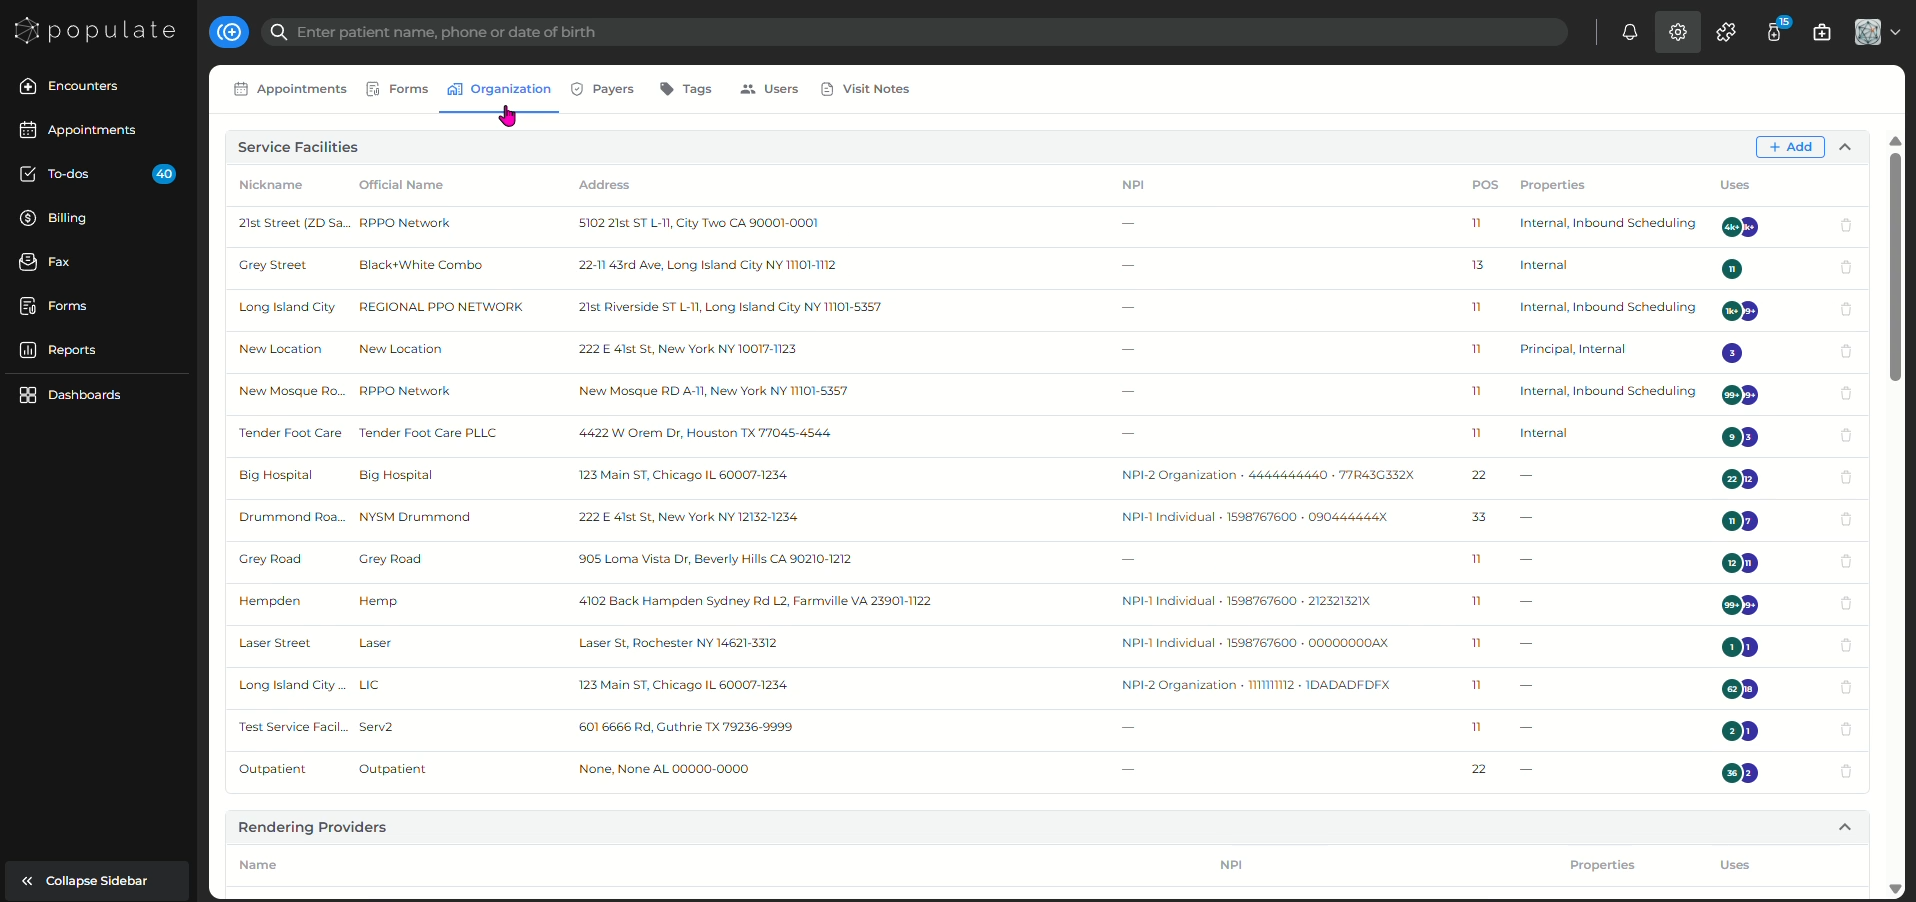
Click + Add to add a new service facility.
Click Payers to manage the payers configured for your organization.
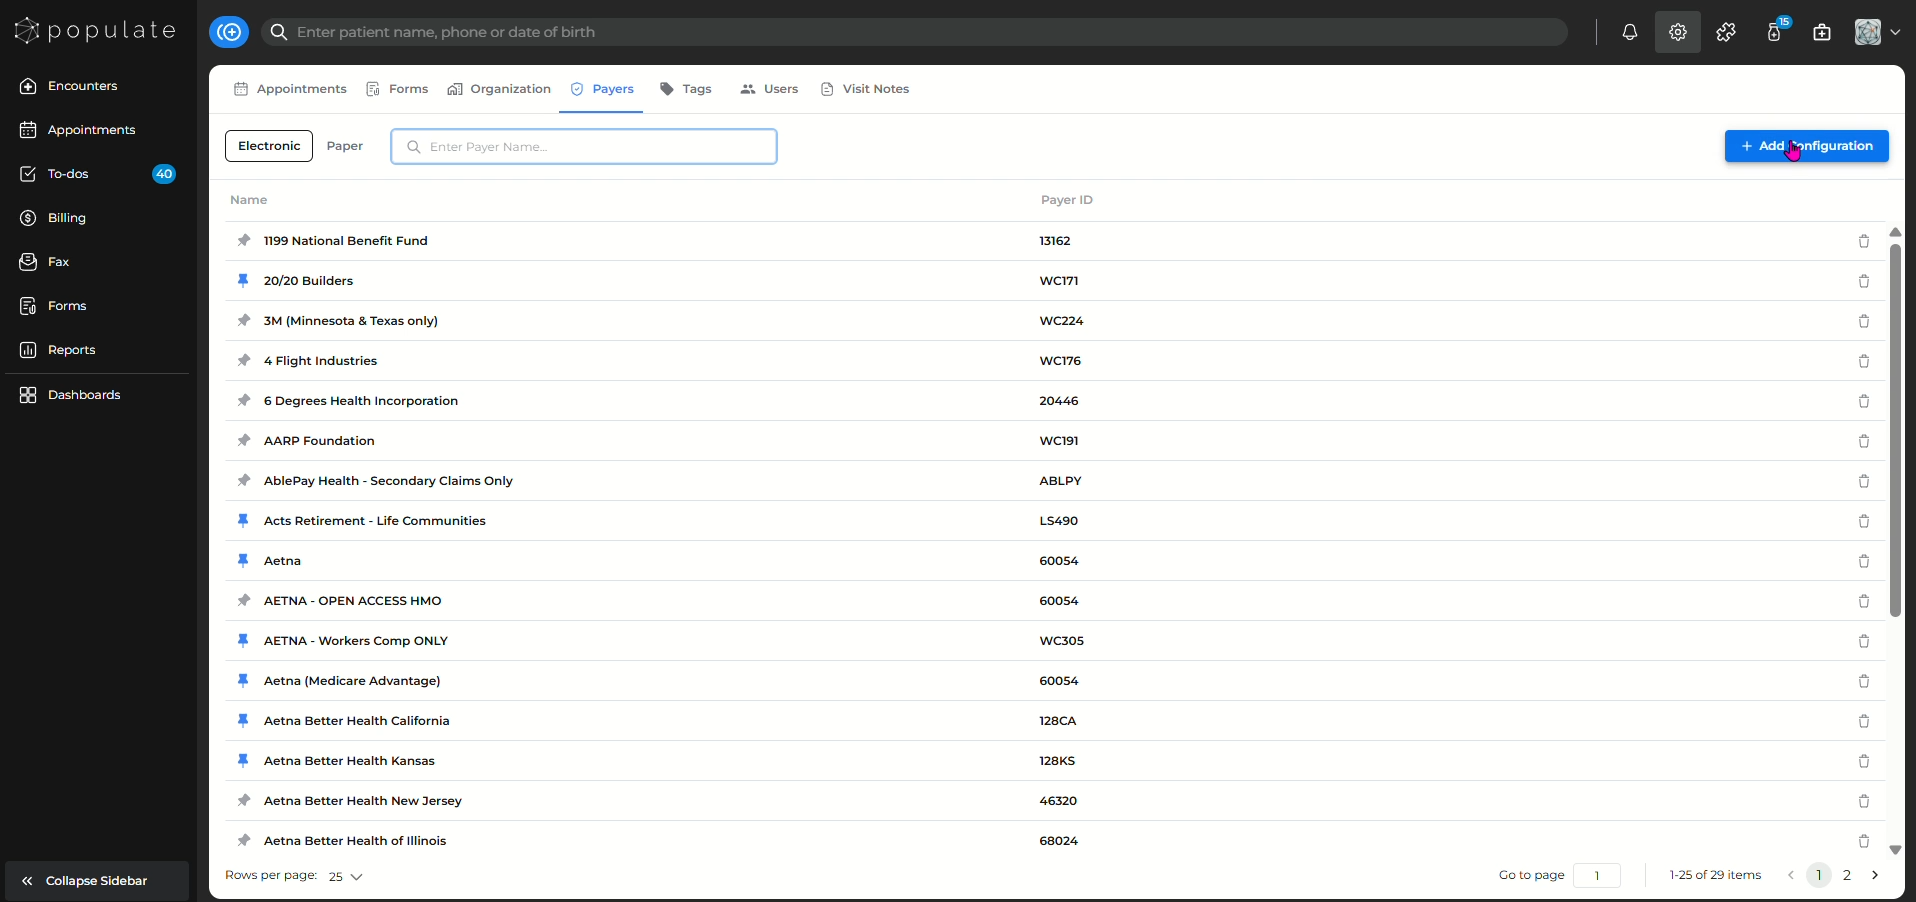
Select Electronic to view electronic payer configurations. You can see the payer name and its corresponding Payer ID.
You can also click + Add Configuration to add another electronic payer configuration.
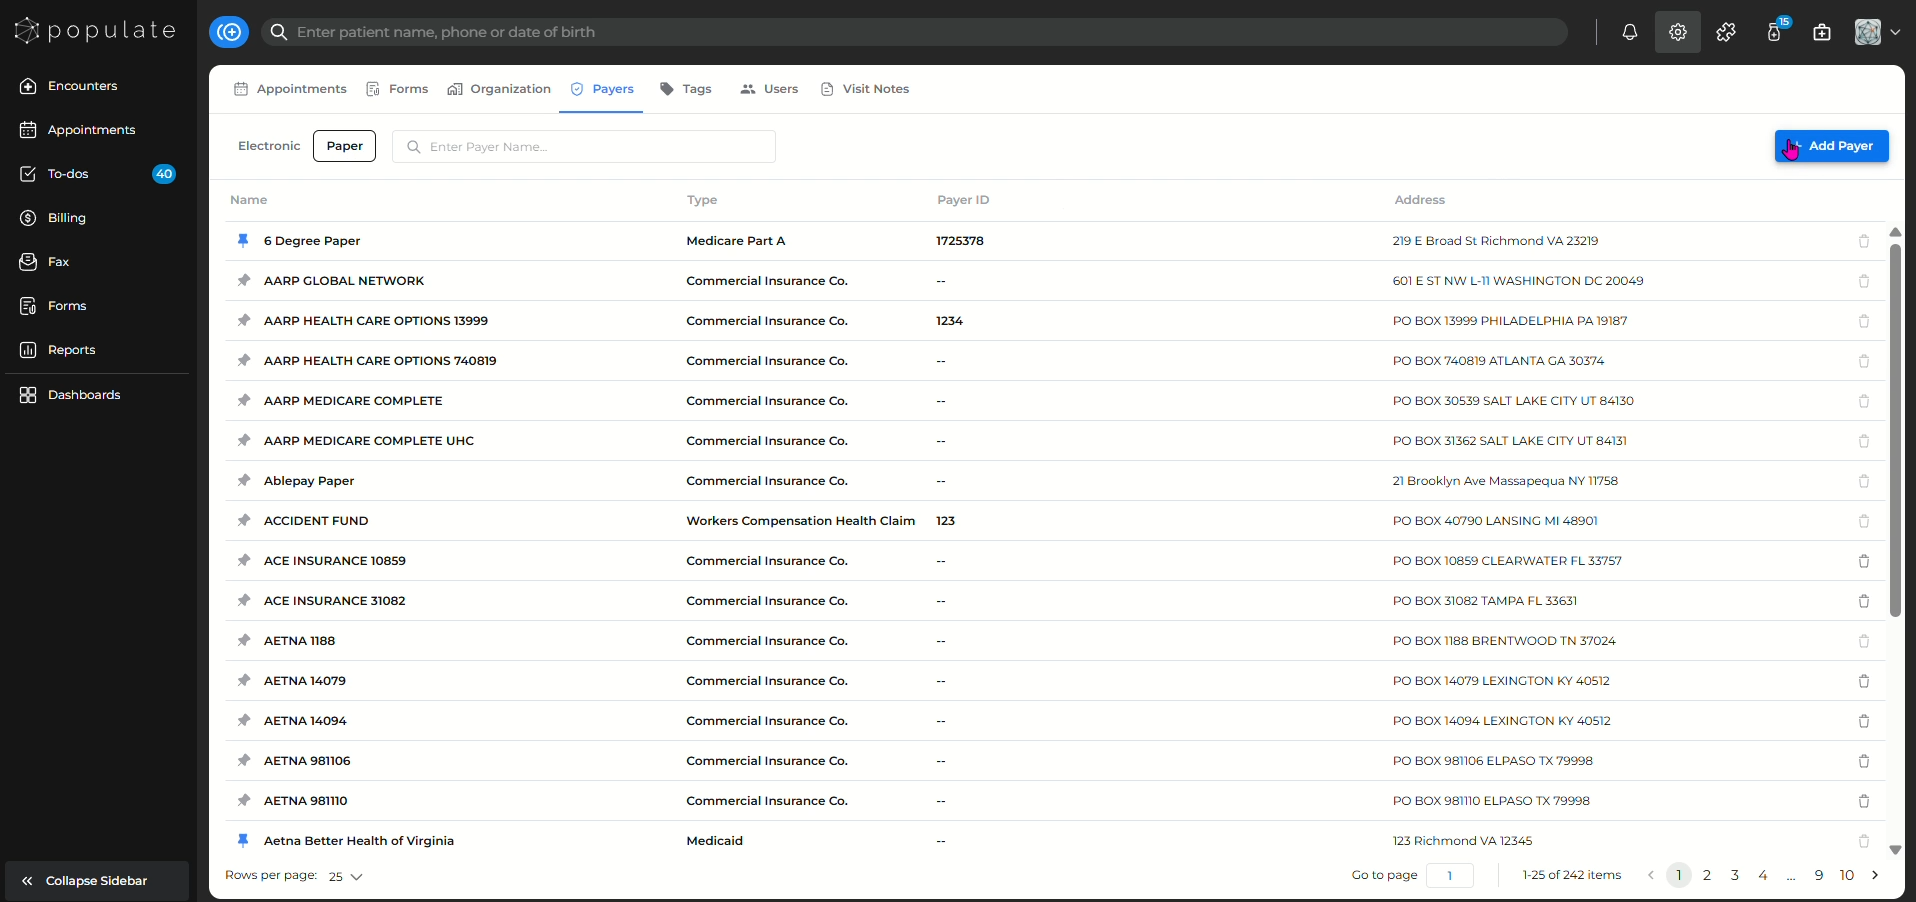
Select Paper to view payers configured for paper claims.
From the Paper tab, you can view information such as the payer Name, Type, Payer ID, and Address, or click + Add Payer to add a new one.
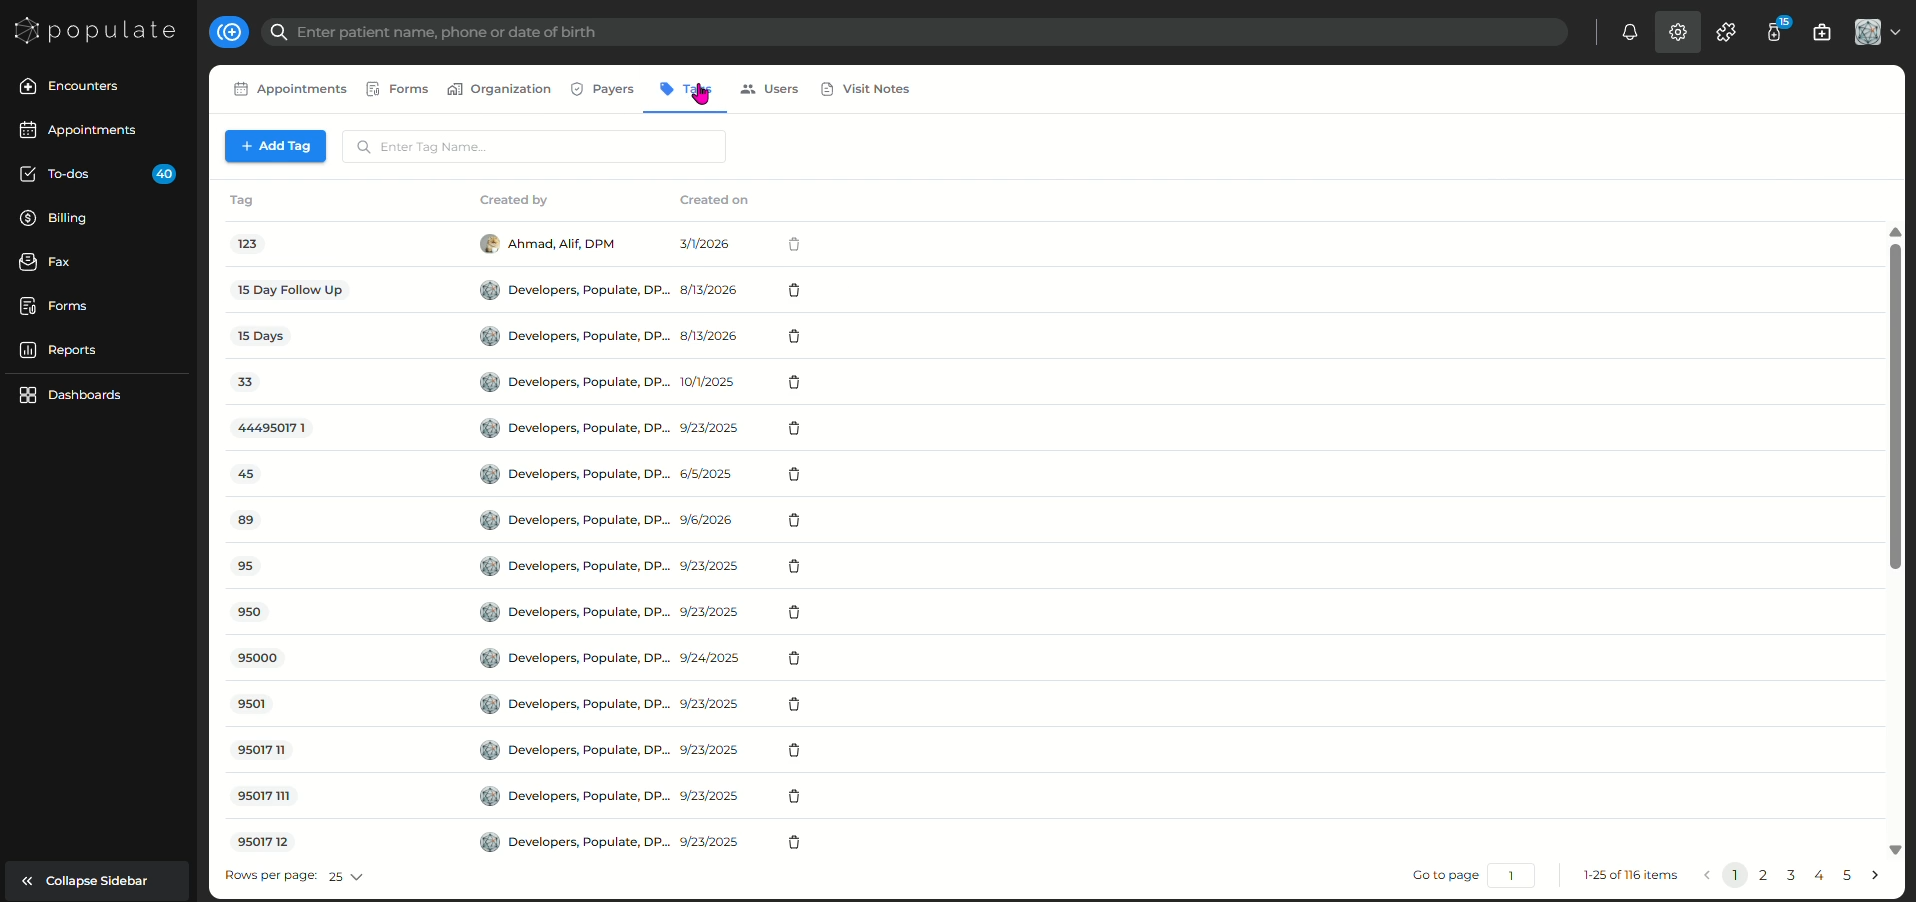
Click Tags to view the tags created within your organization.
The page displays each tag along with information about who created it and when it was created.
Use the search bar to locate an existing tag.
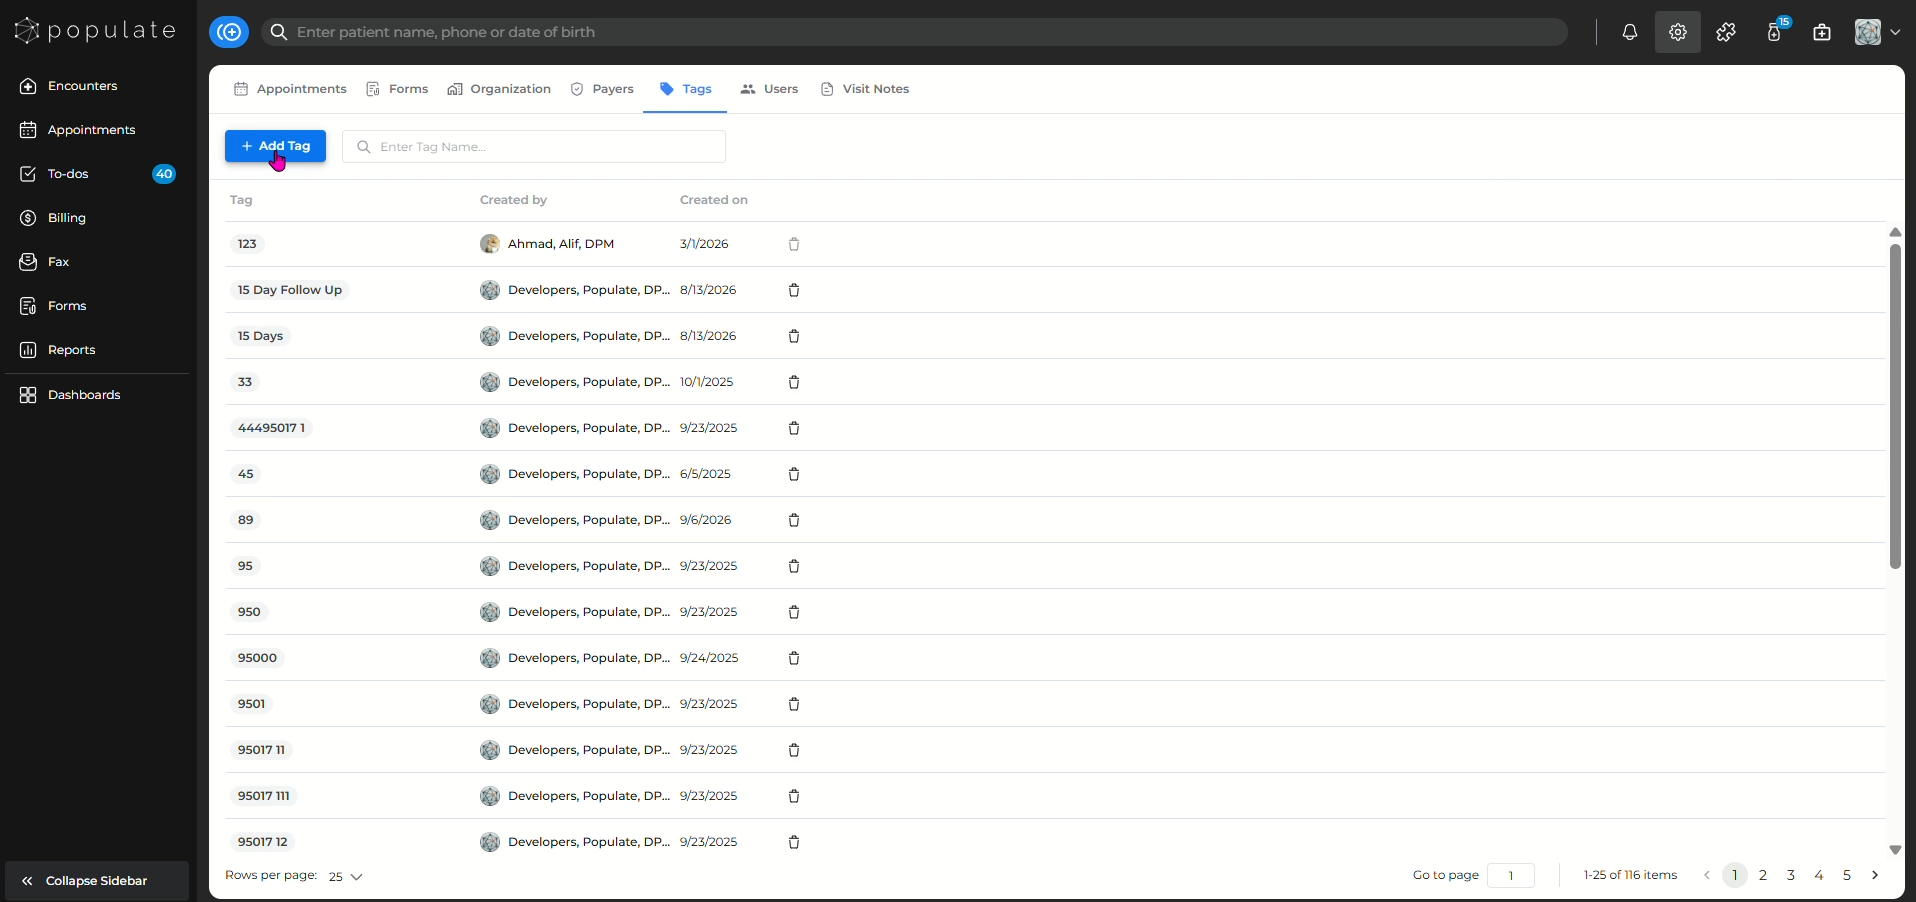
Click + Add Tag to create a new tag.
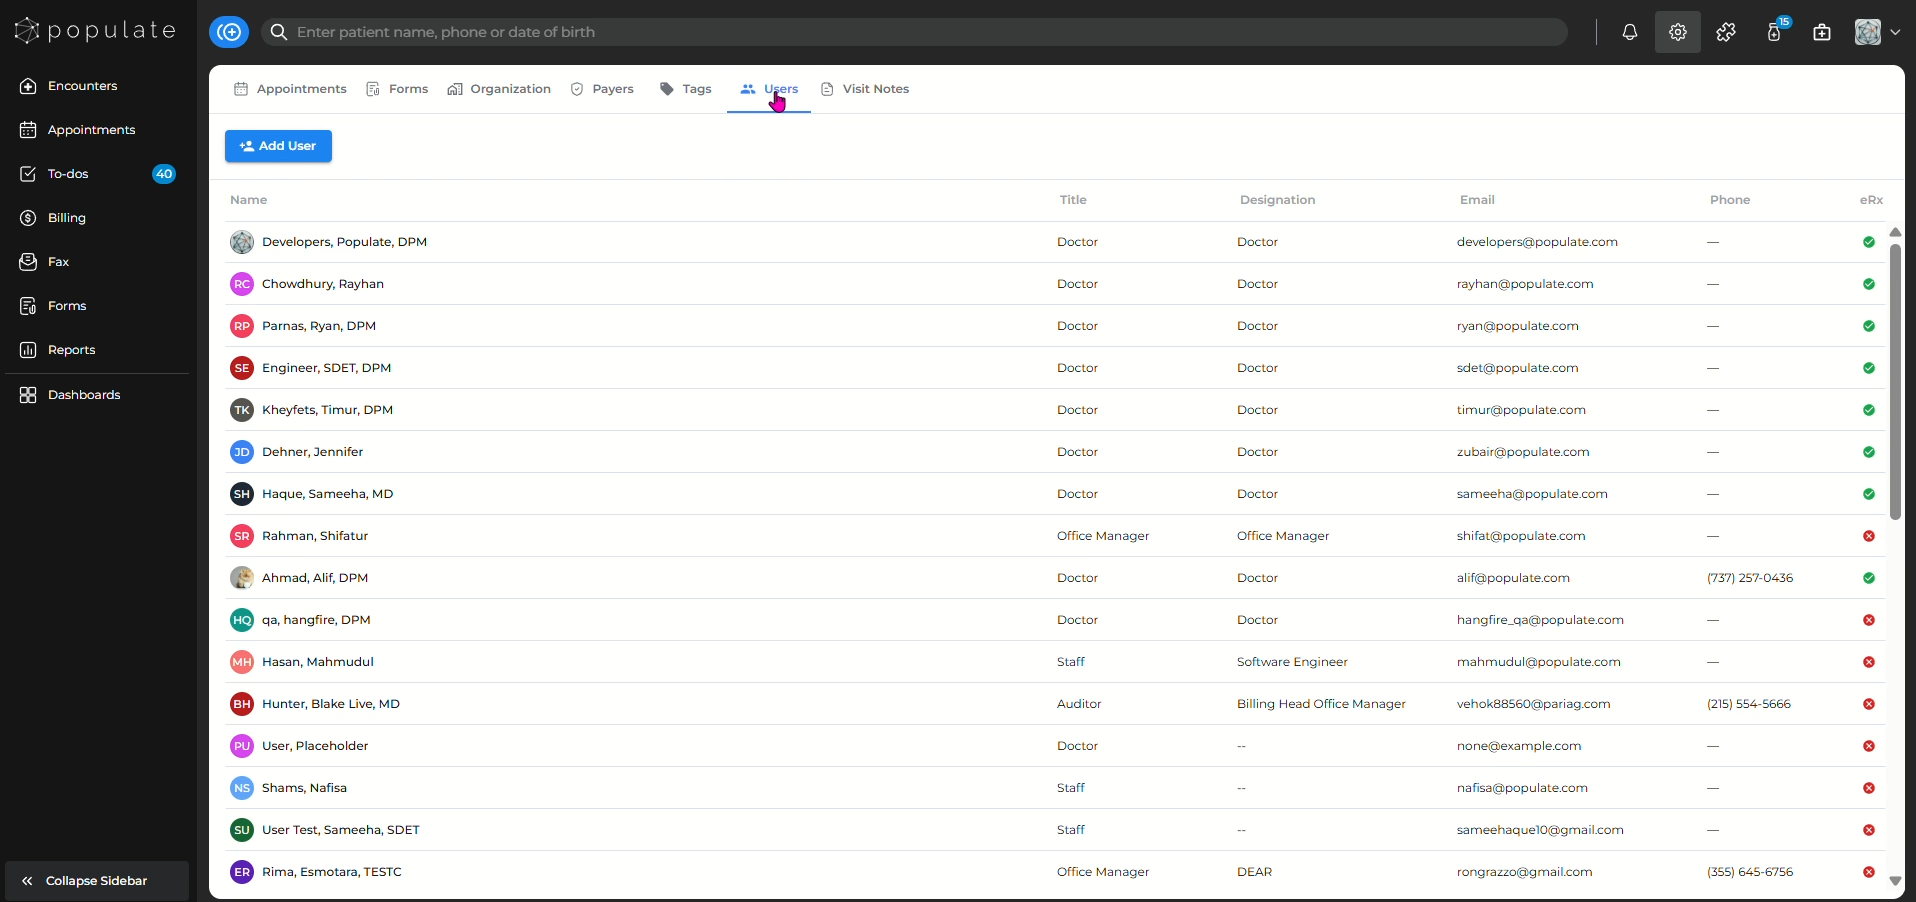
Click Users to view the users associated with your organization.
Here, you can review information such as the user's Name, Title, Designation, Email, Phone, and eRx status.
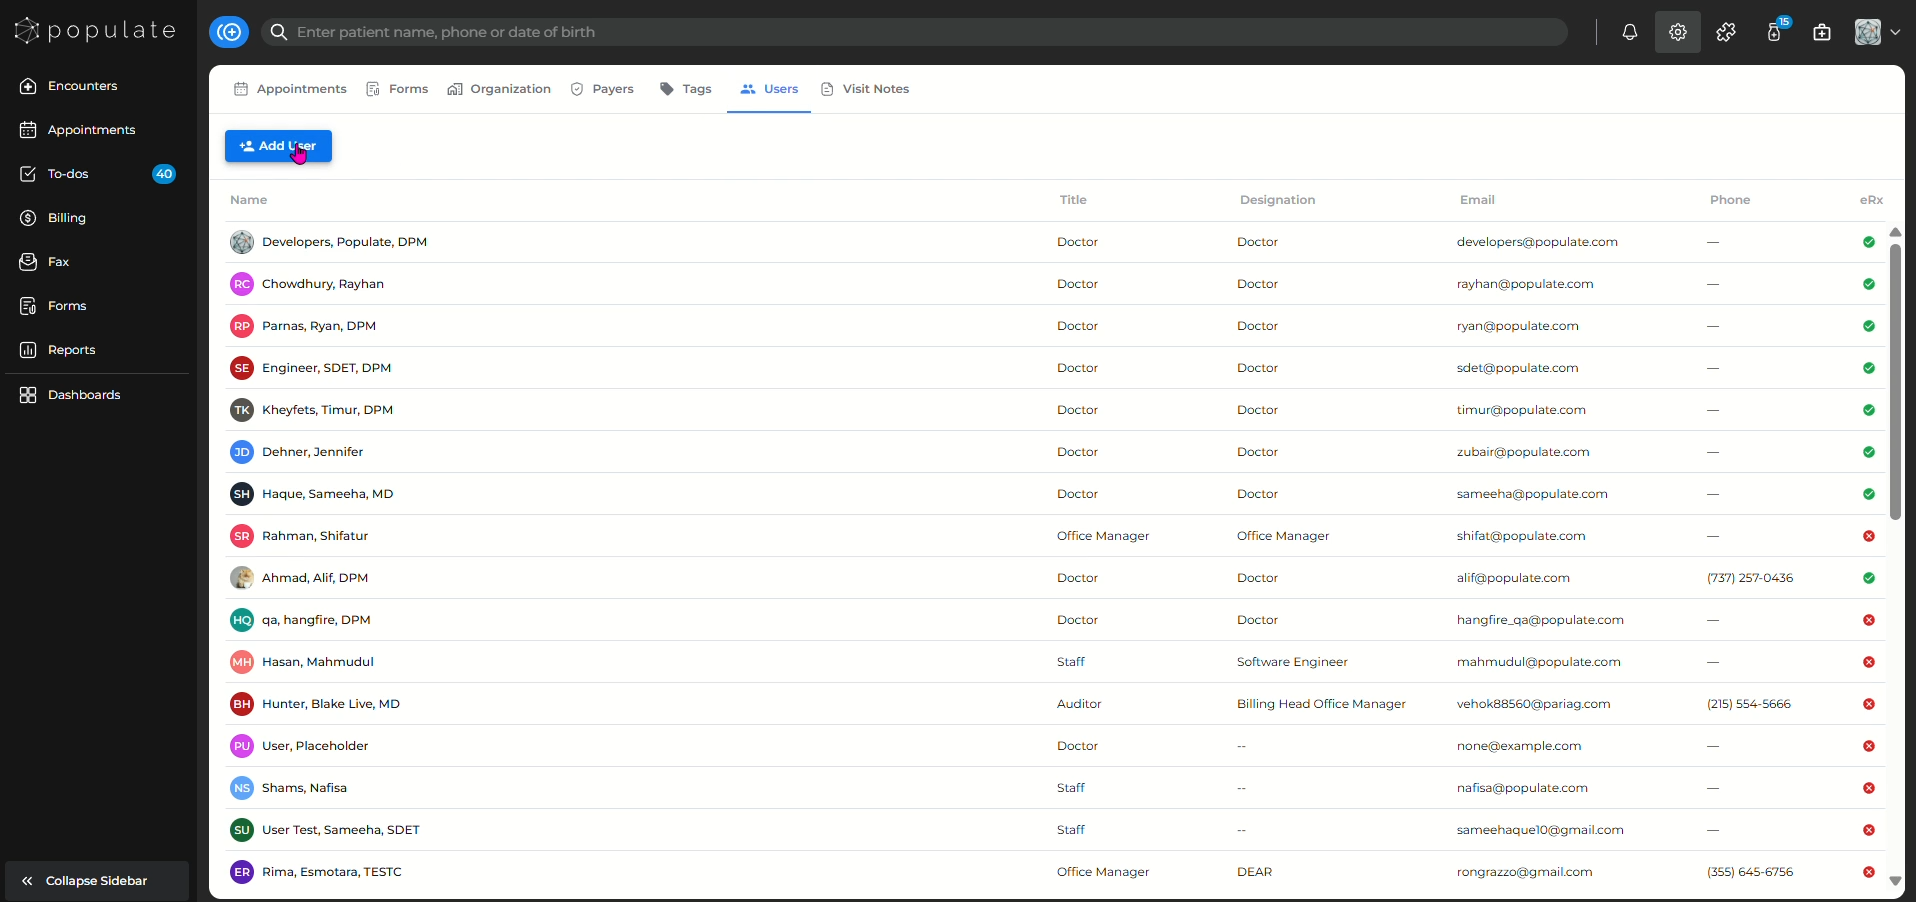
Click + Add User to add a new user to the organization.
Click Visit Notes to manage templates and fields used when documenting visits.