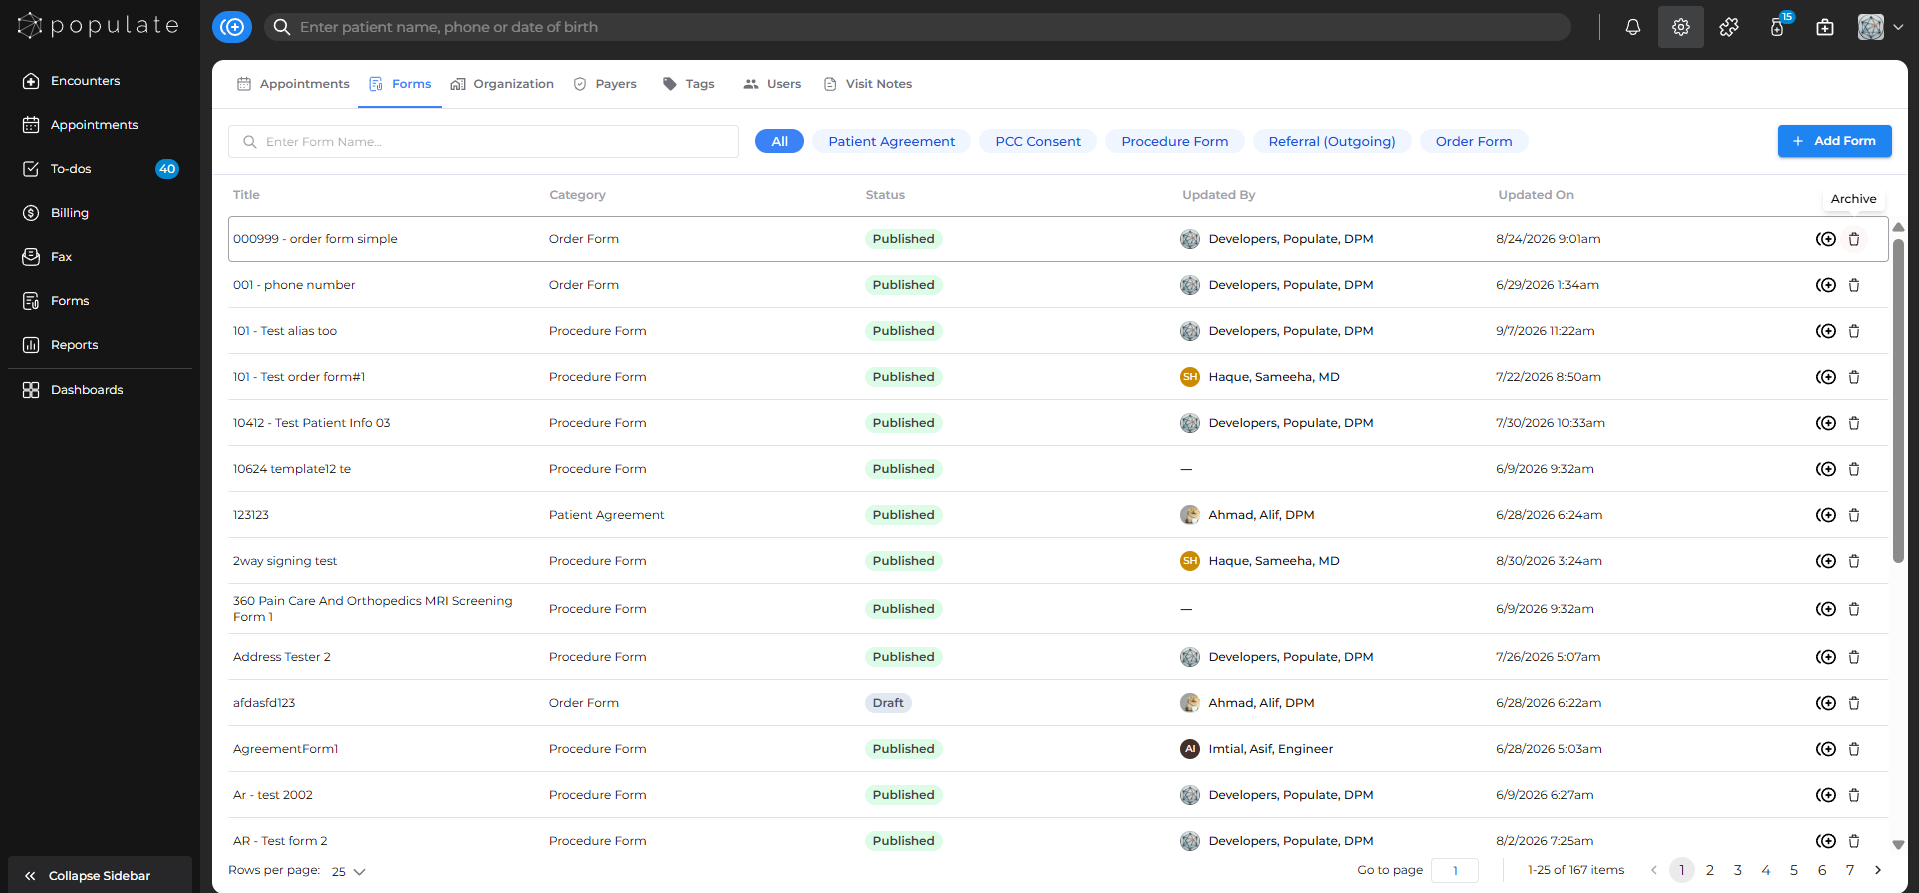
Navigate to the "Forms" tab from Settings.
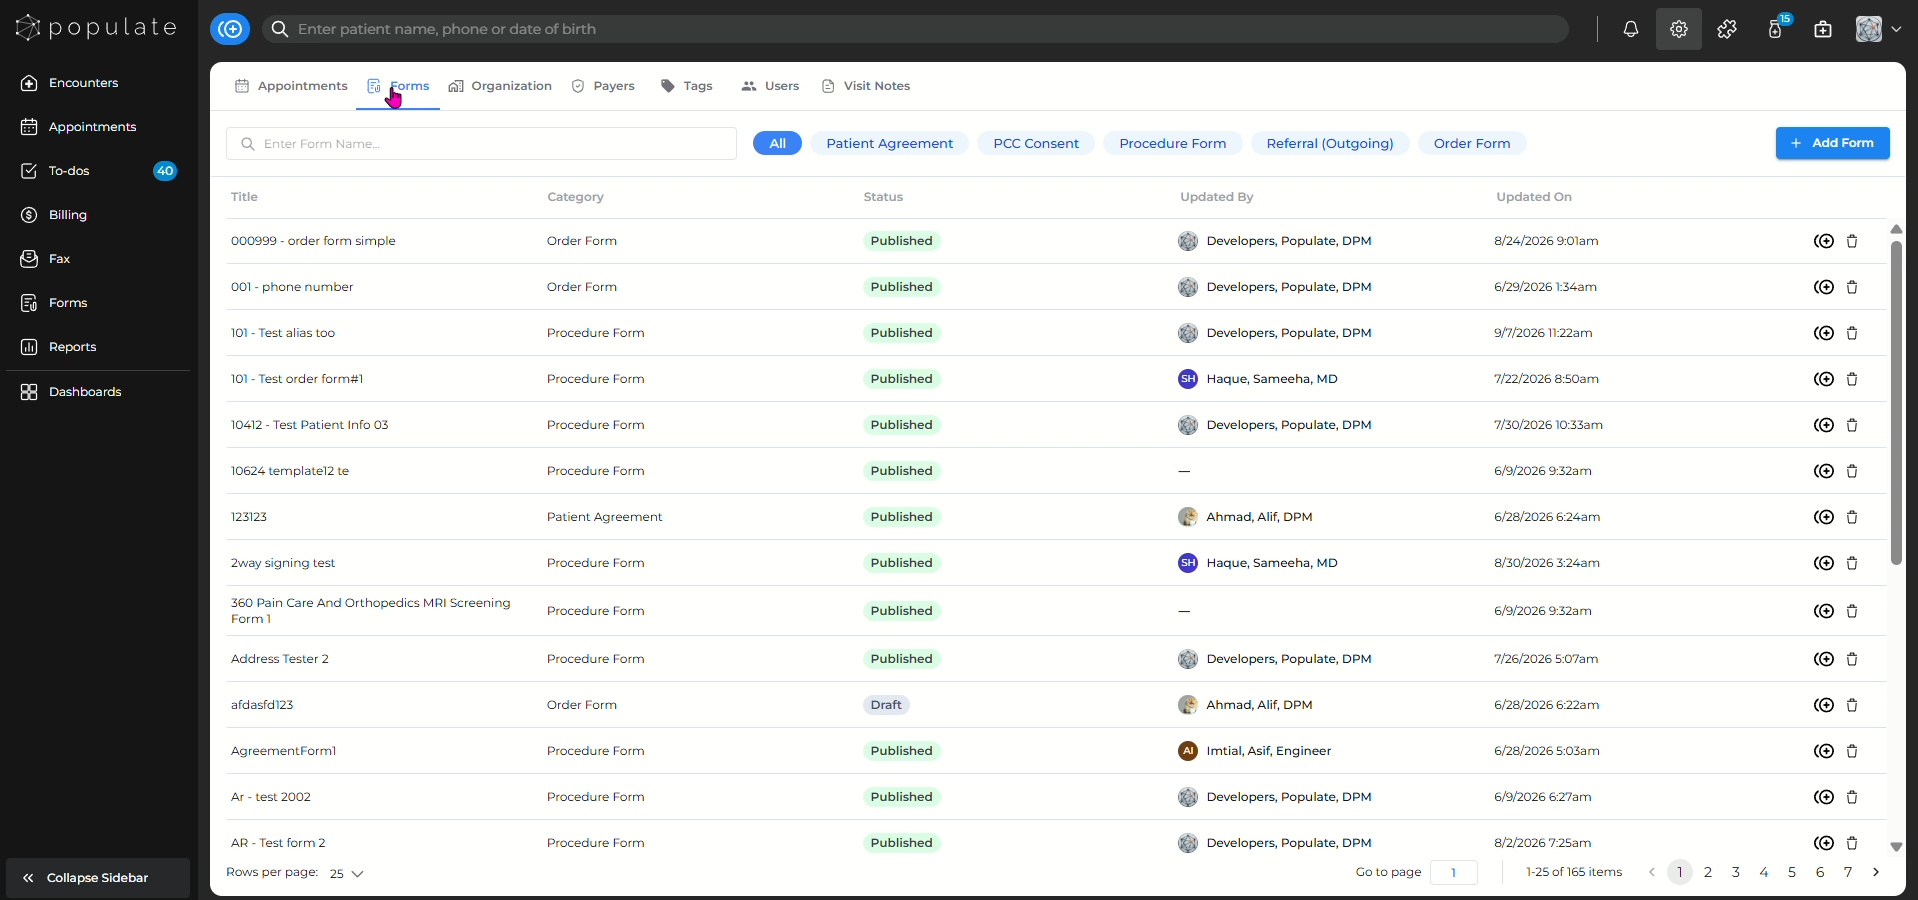
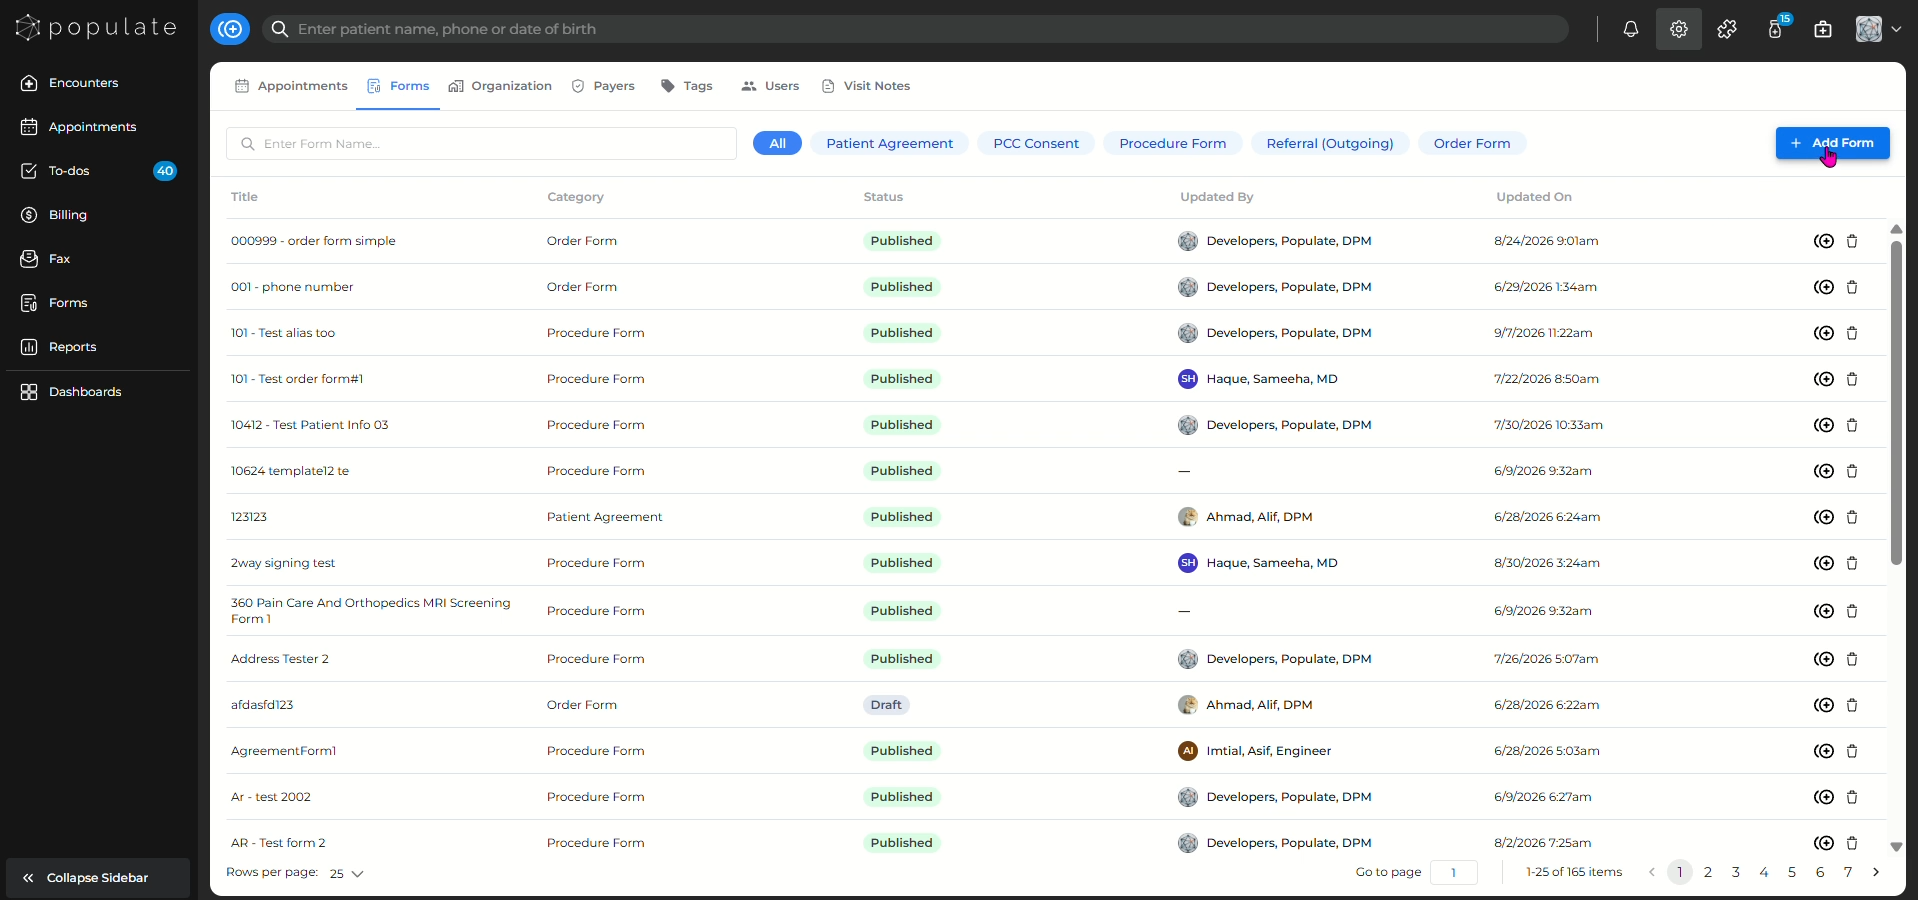
Click "Add Form"
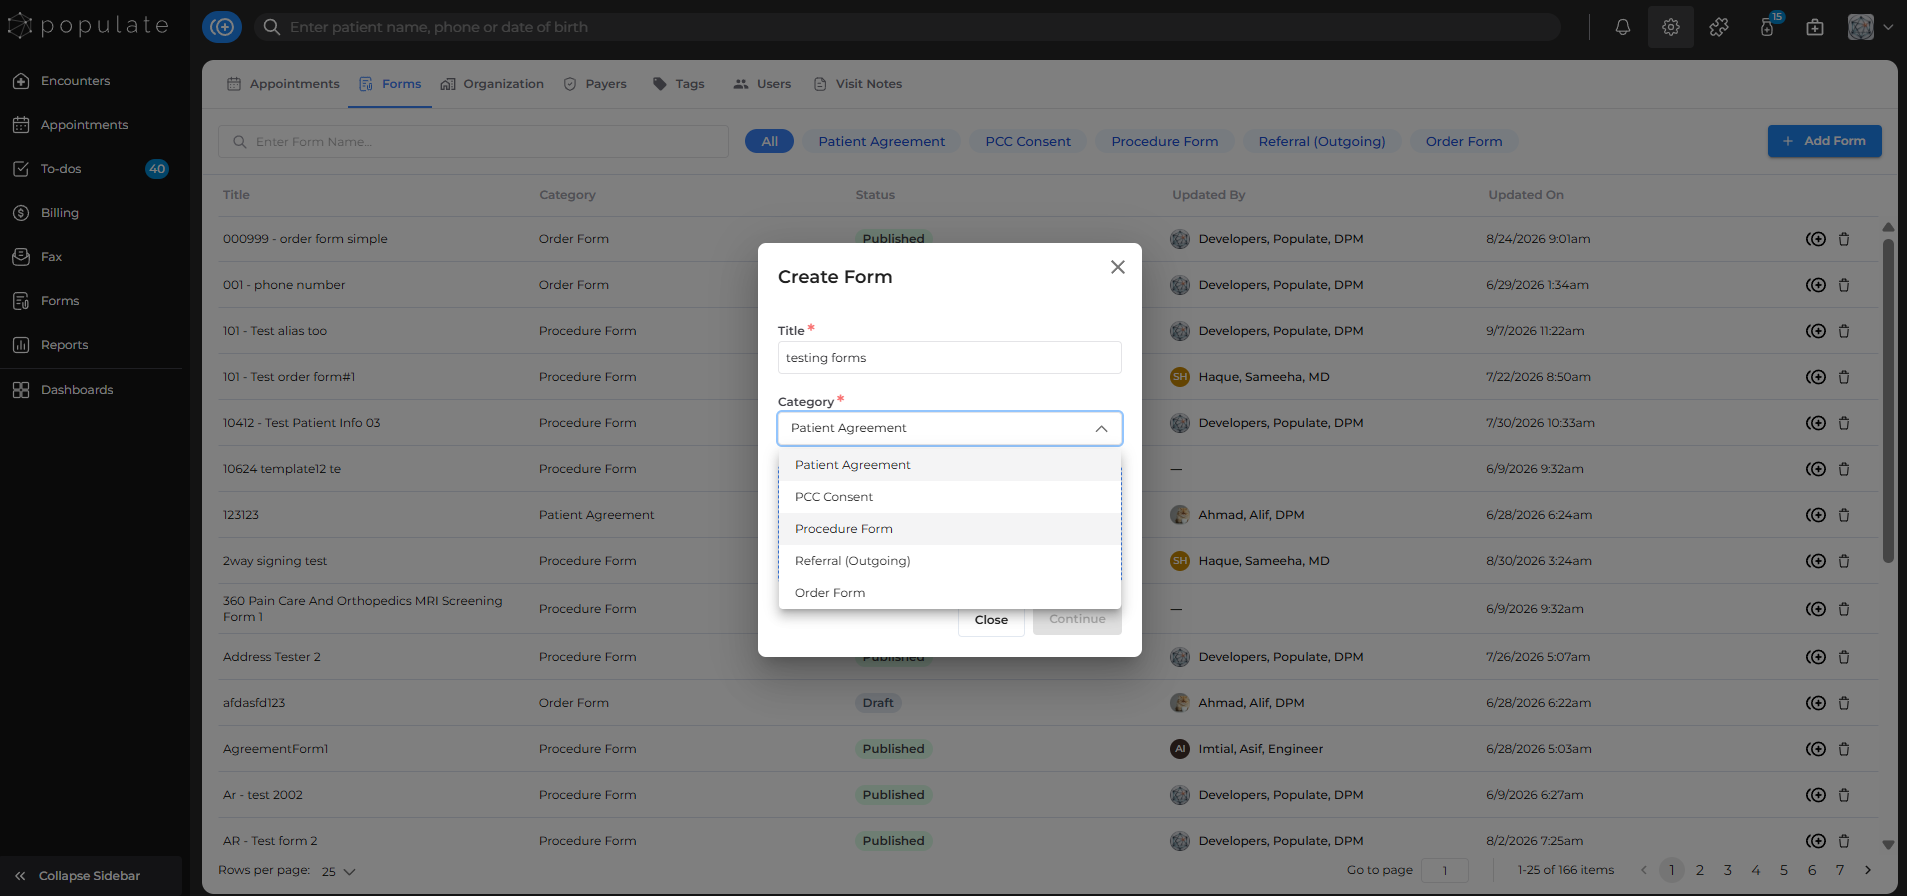
Add a form title
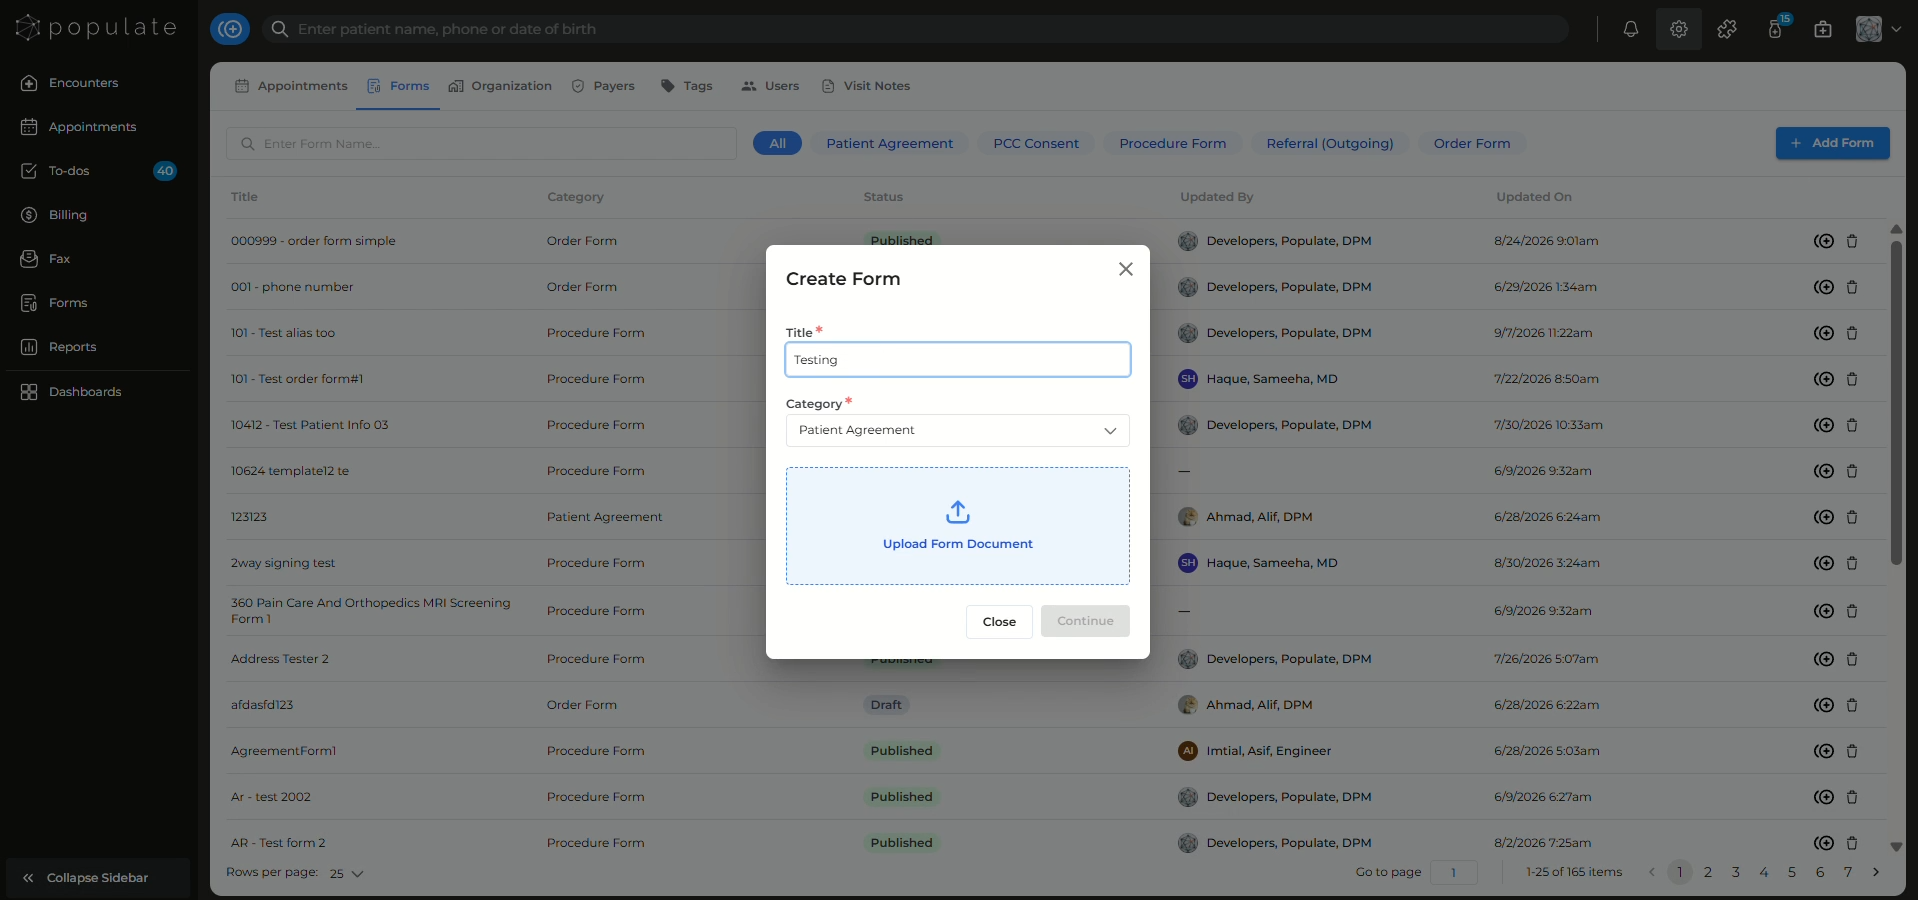
Select the form category
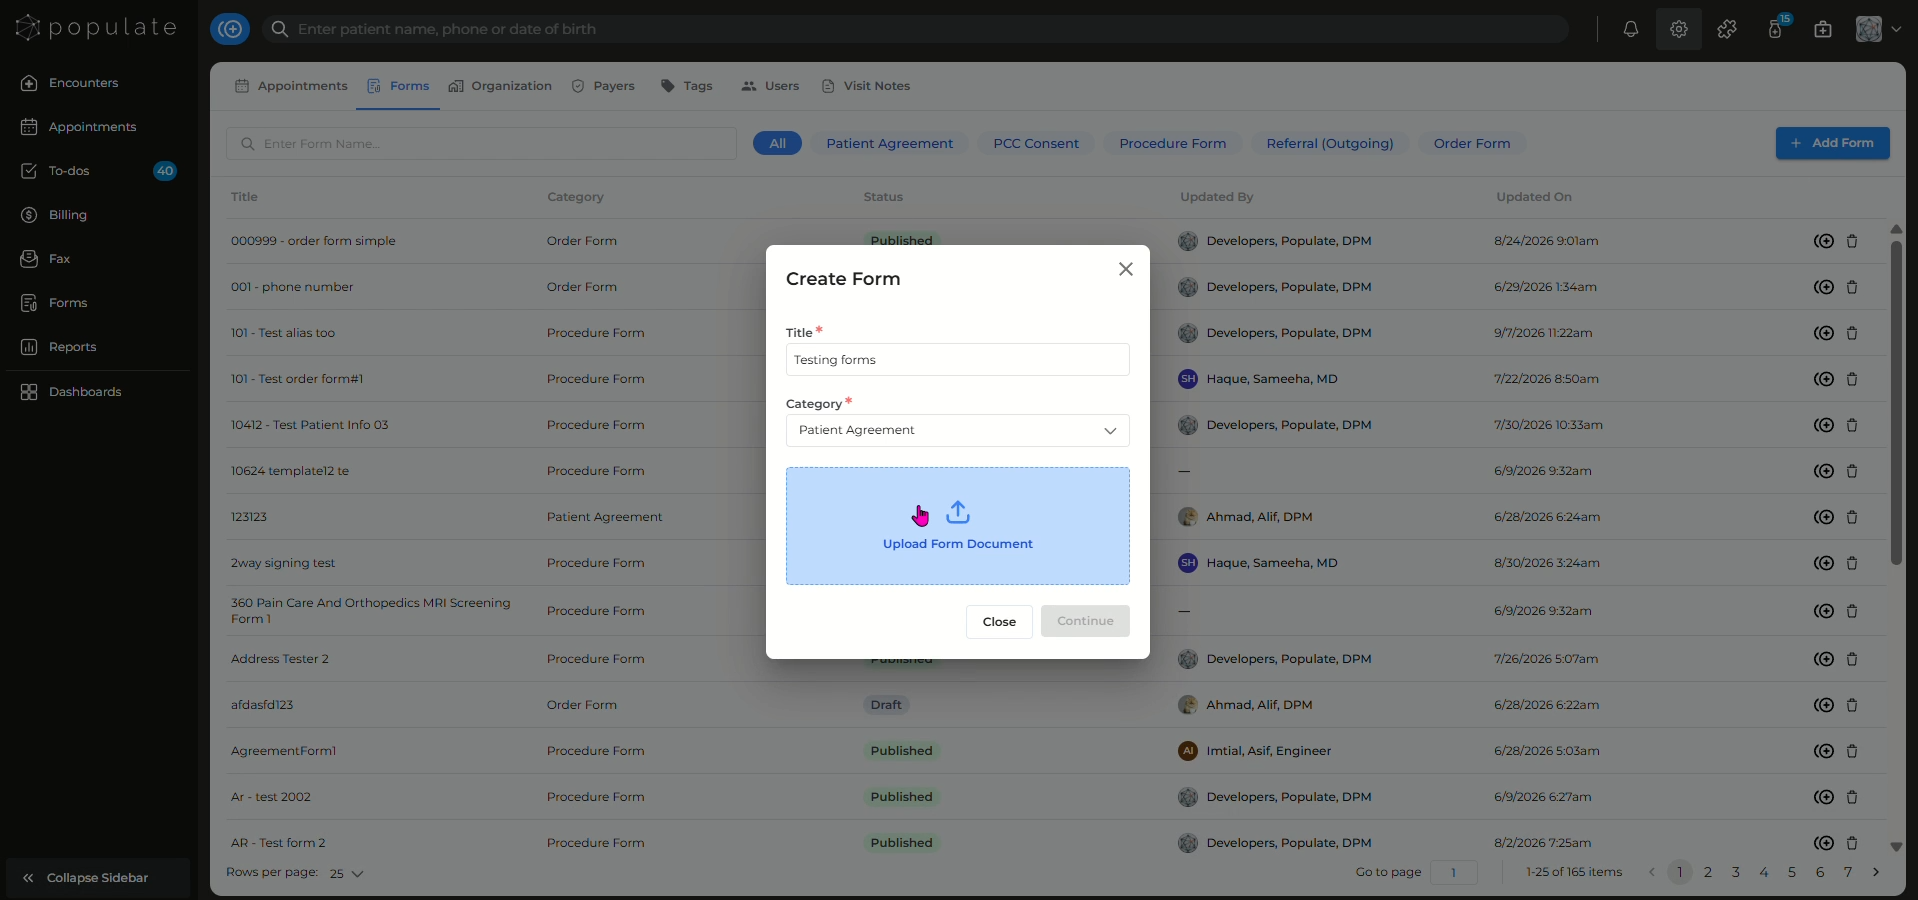
Upload the form PDF
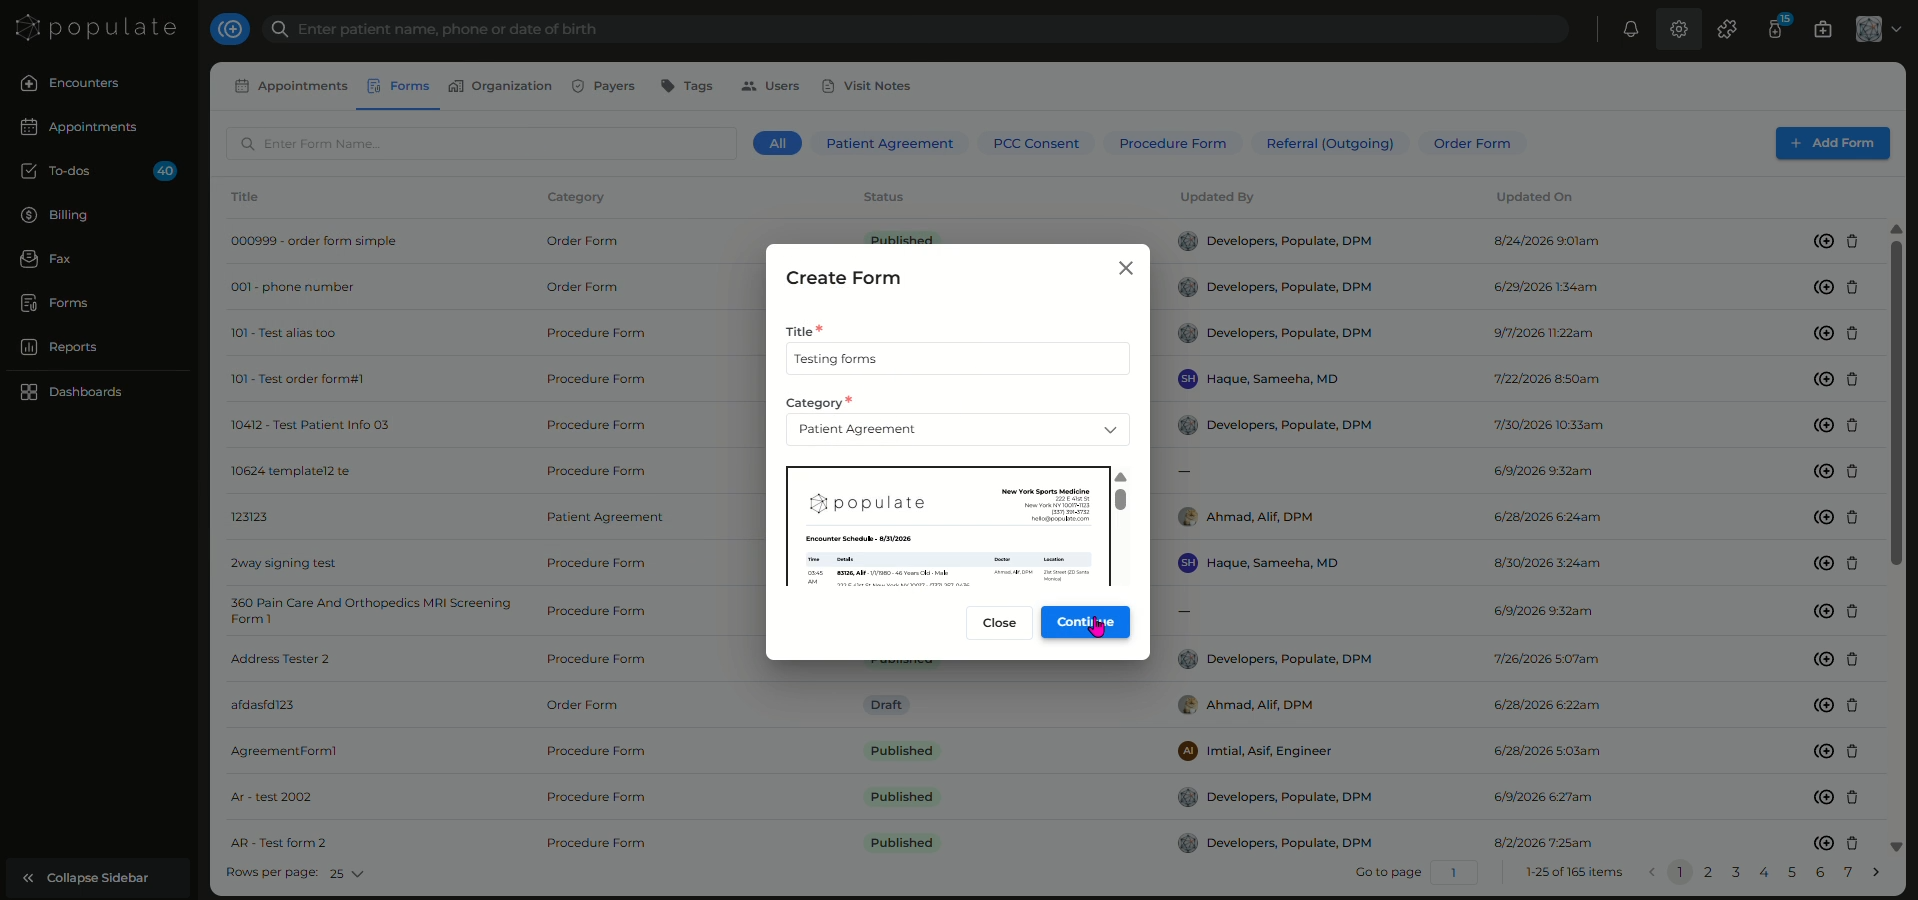
Once the upload is complete, click "Continue"
A new panel containing the form will open where you'll be able to edit the form

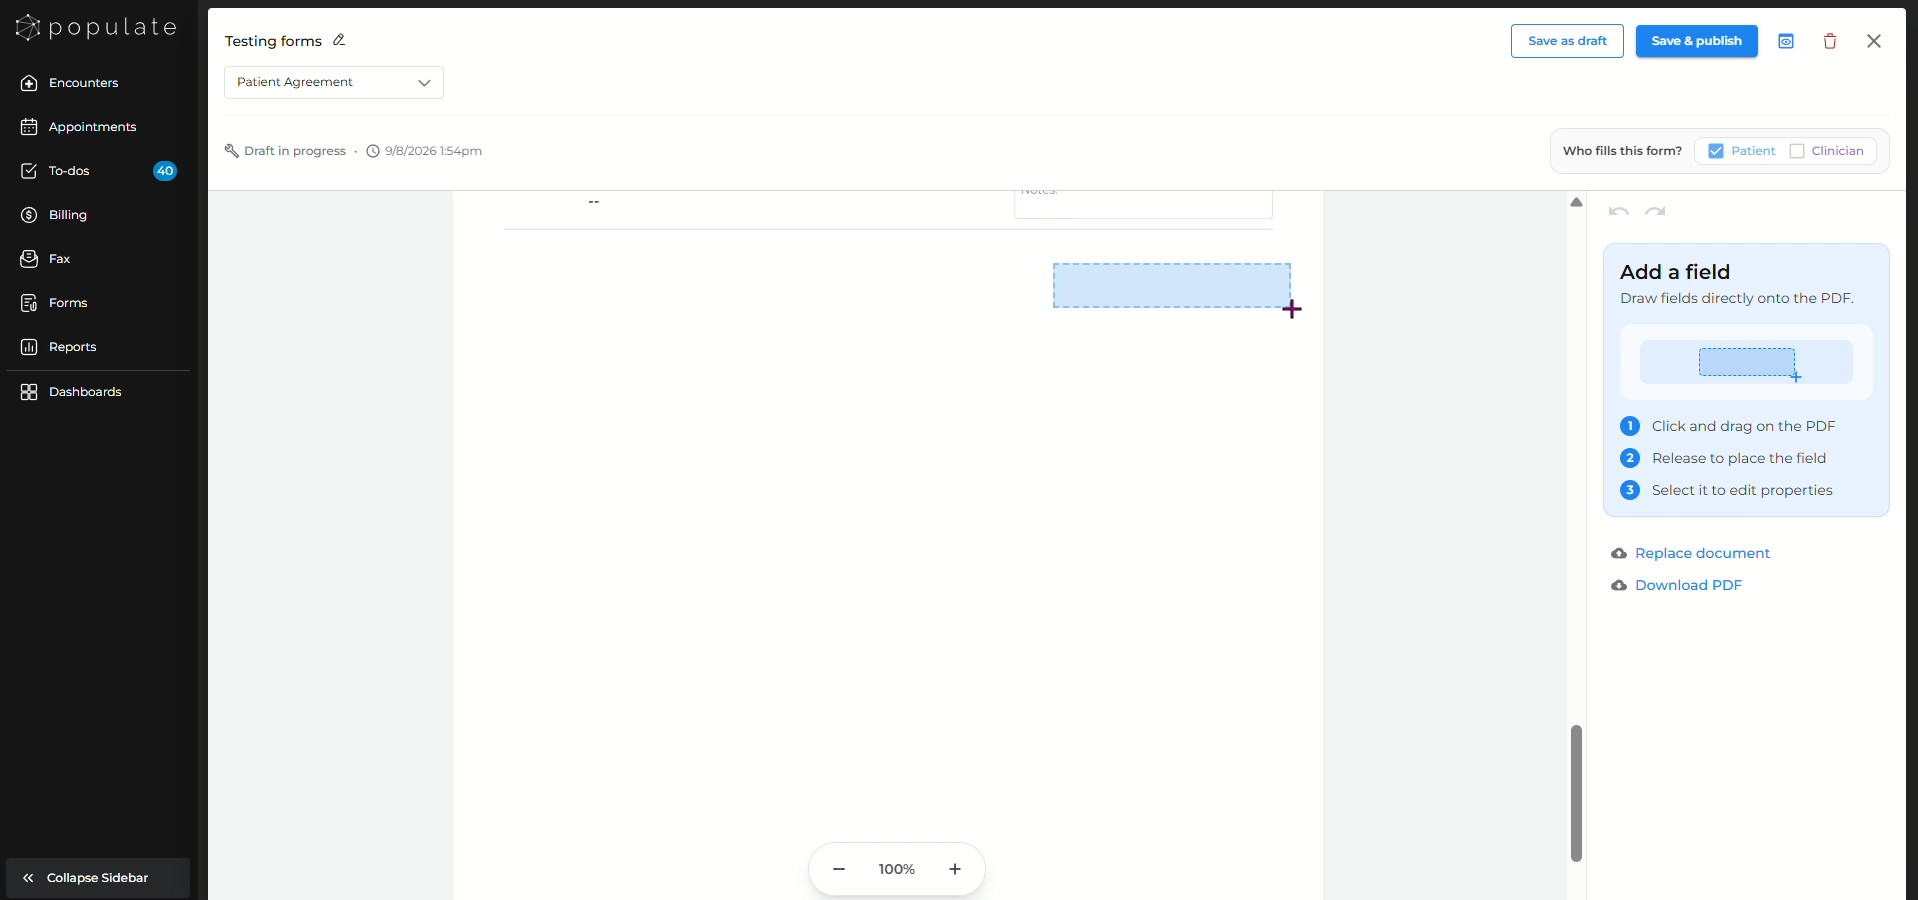
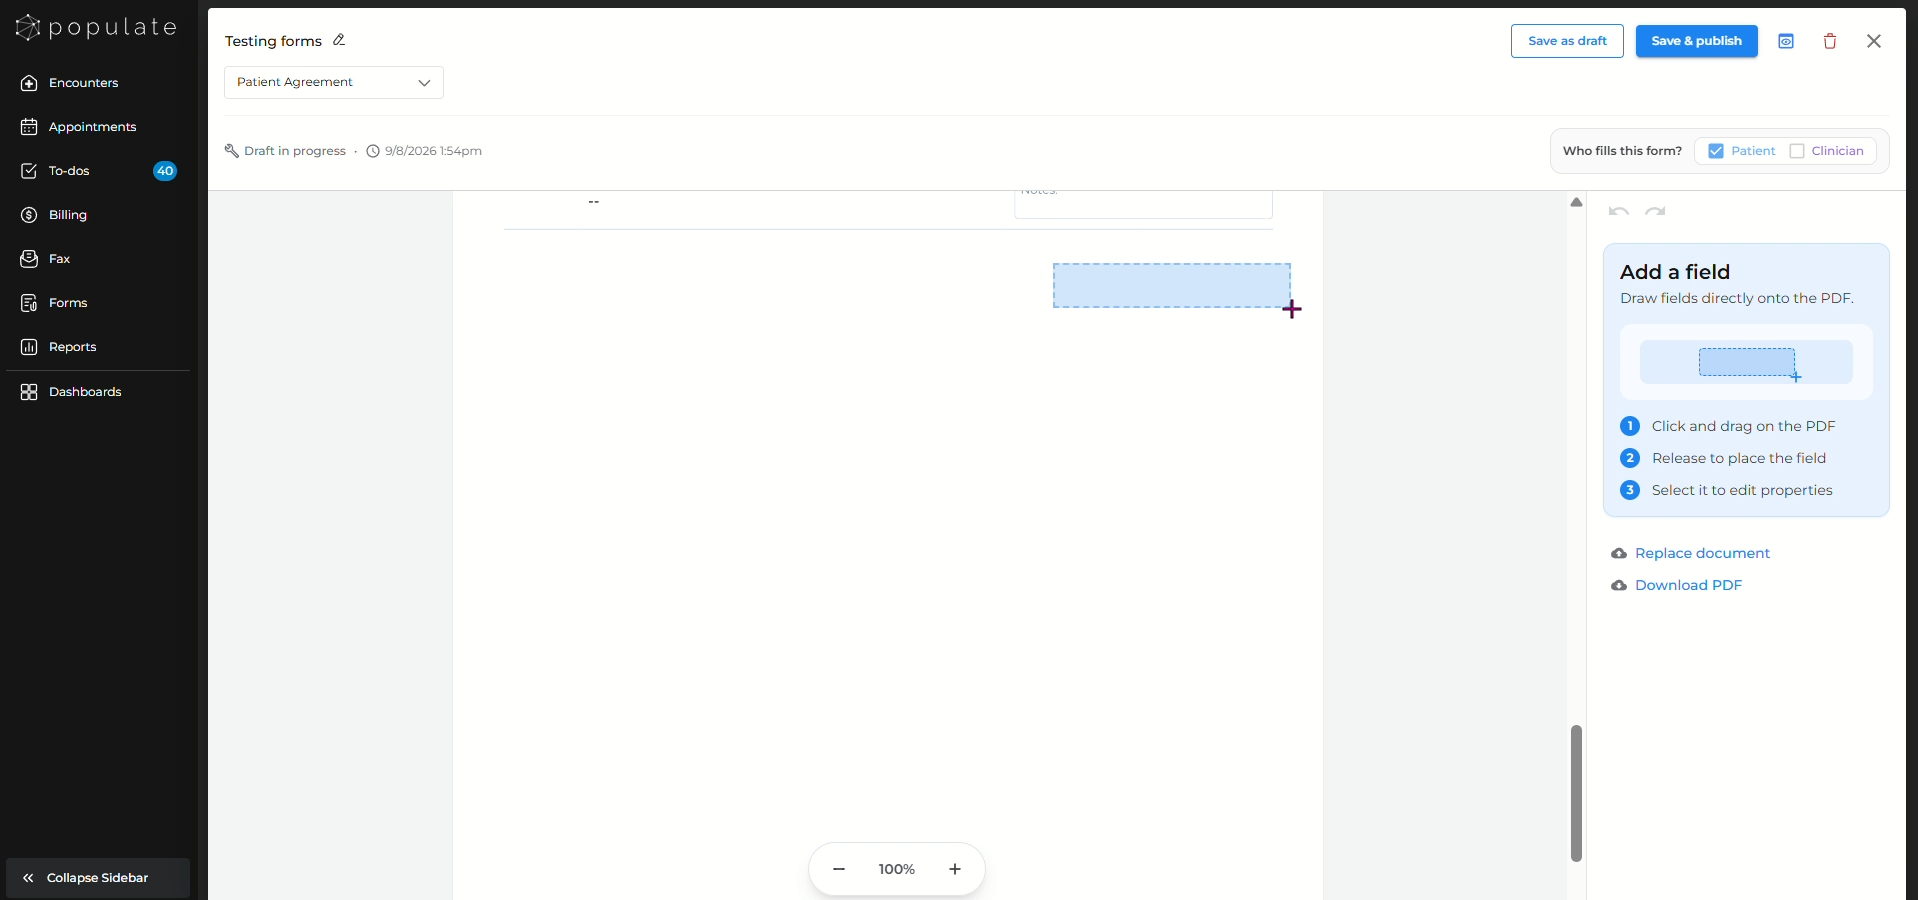
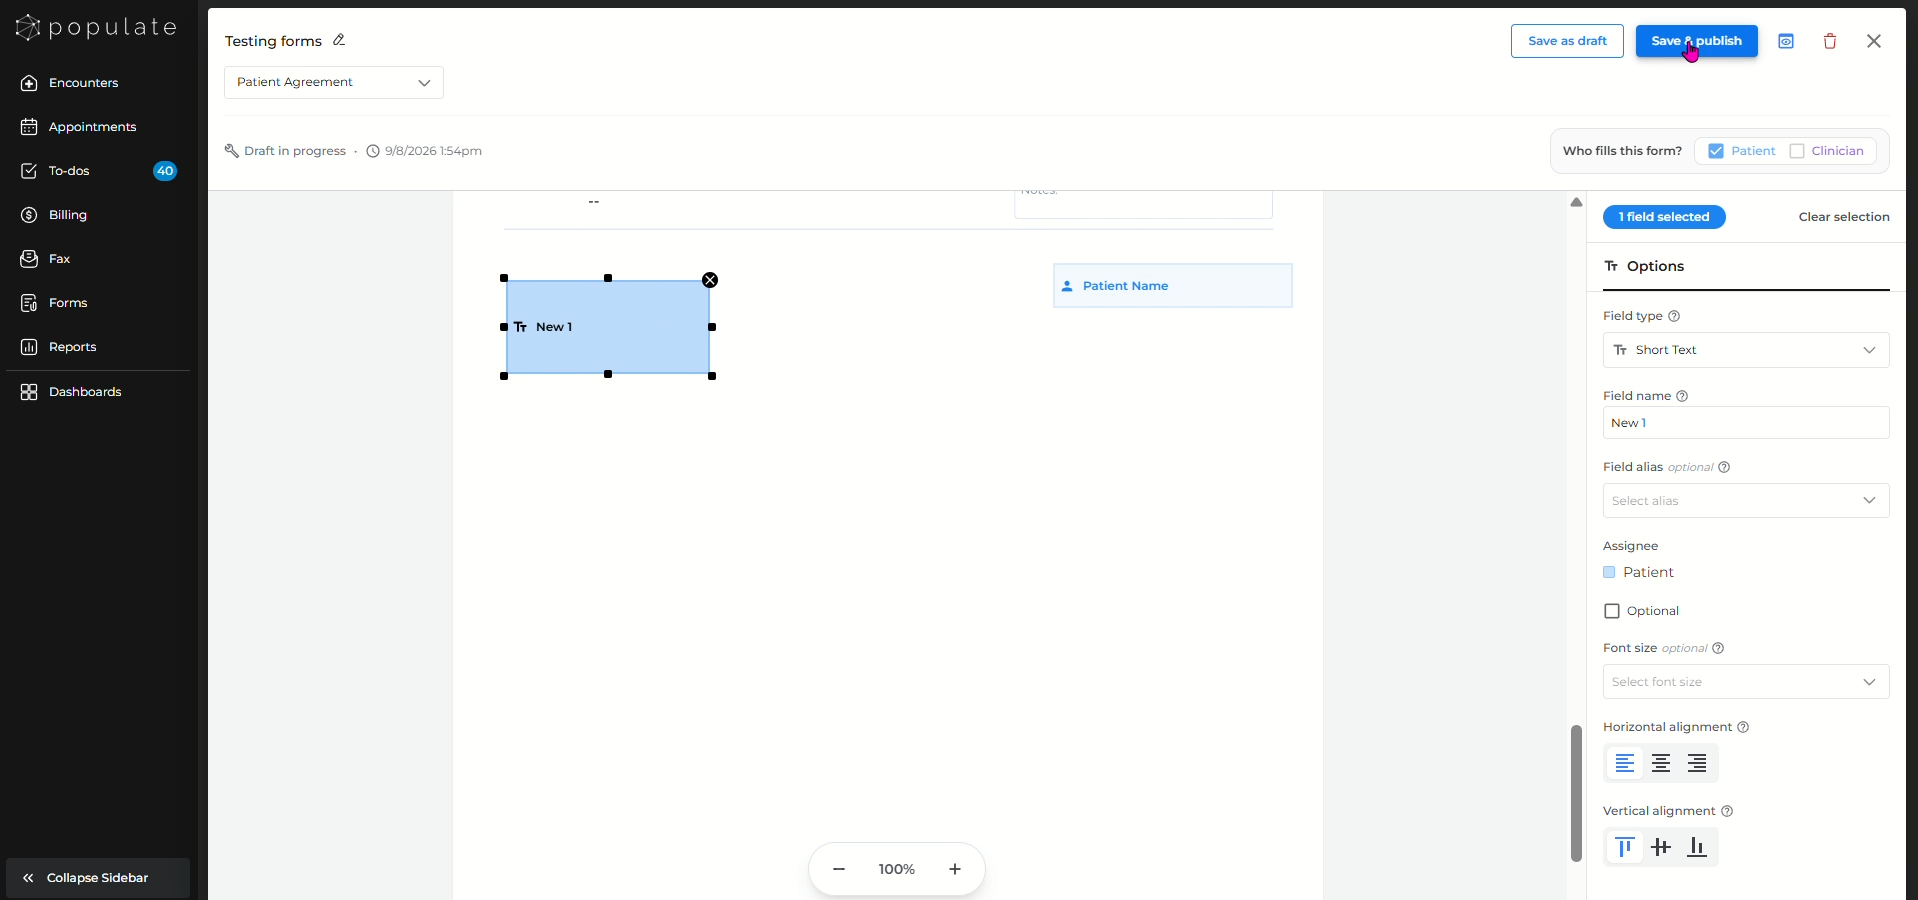
Navigate to the area of the form where you would like to add a fillable field. Click and drag the field onto the appropriate location on the form.
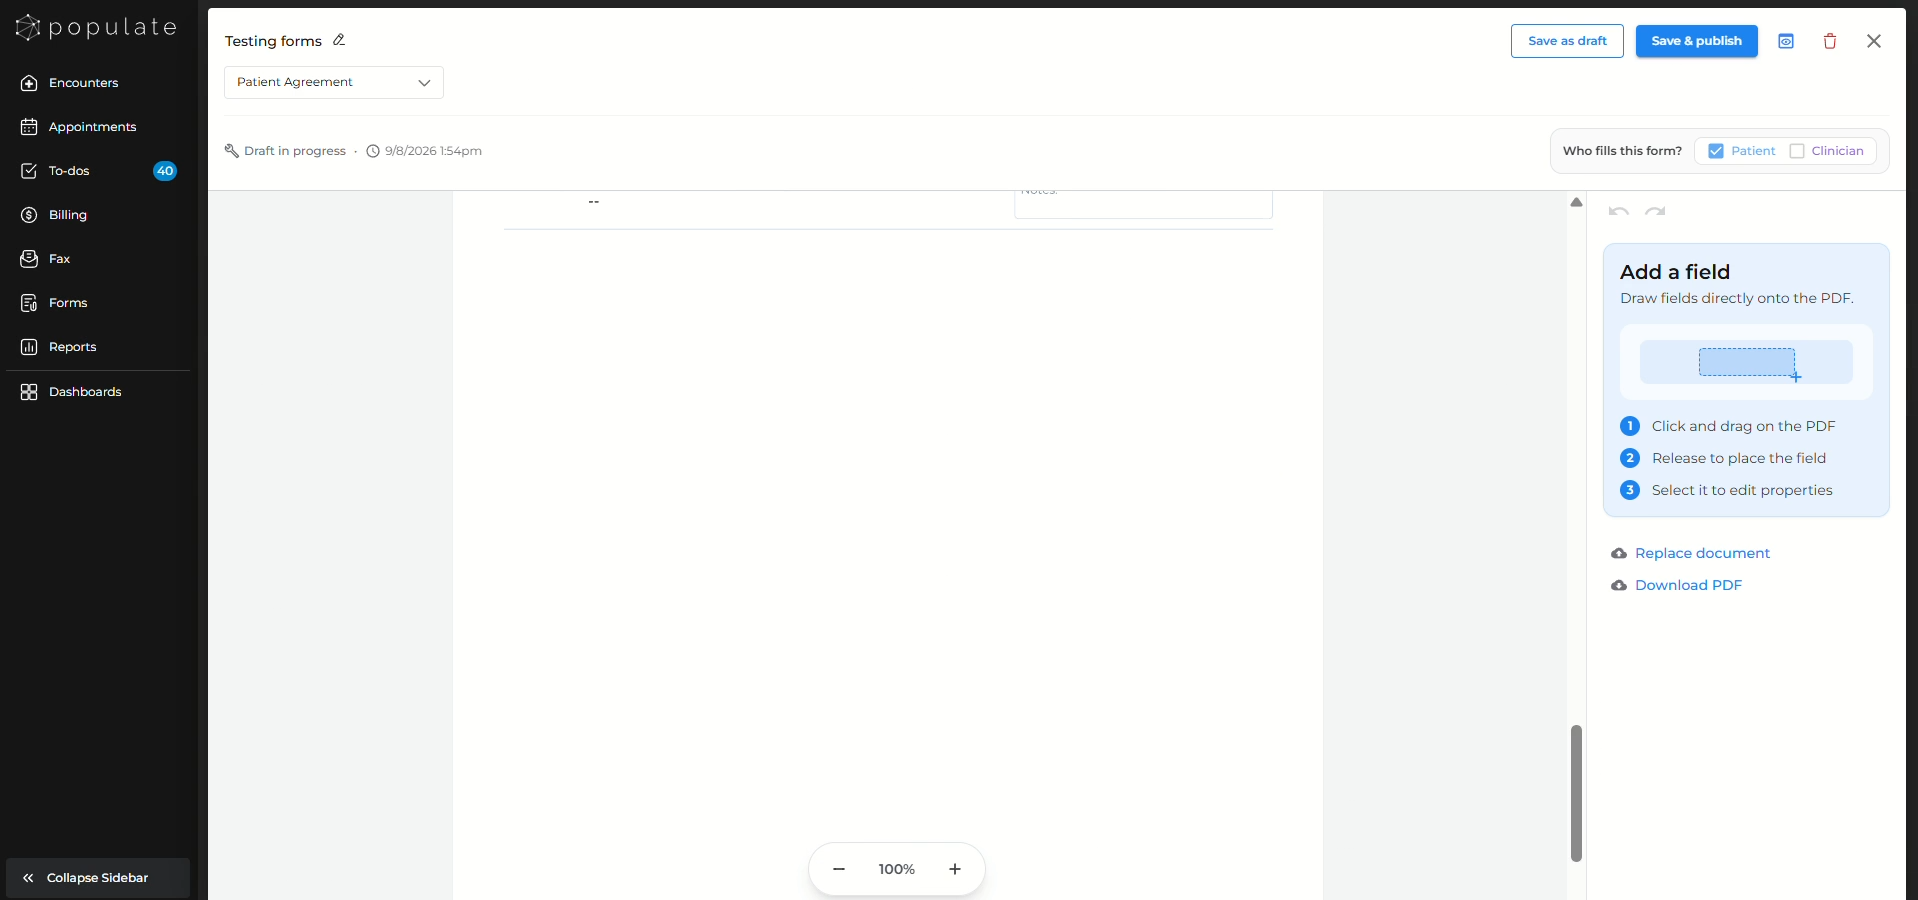
Click and drag the field onto the appropriate location on the form. Release the field once it is positioned where you want it to appear.
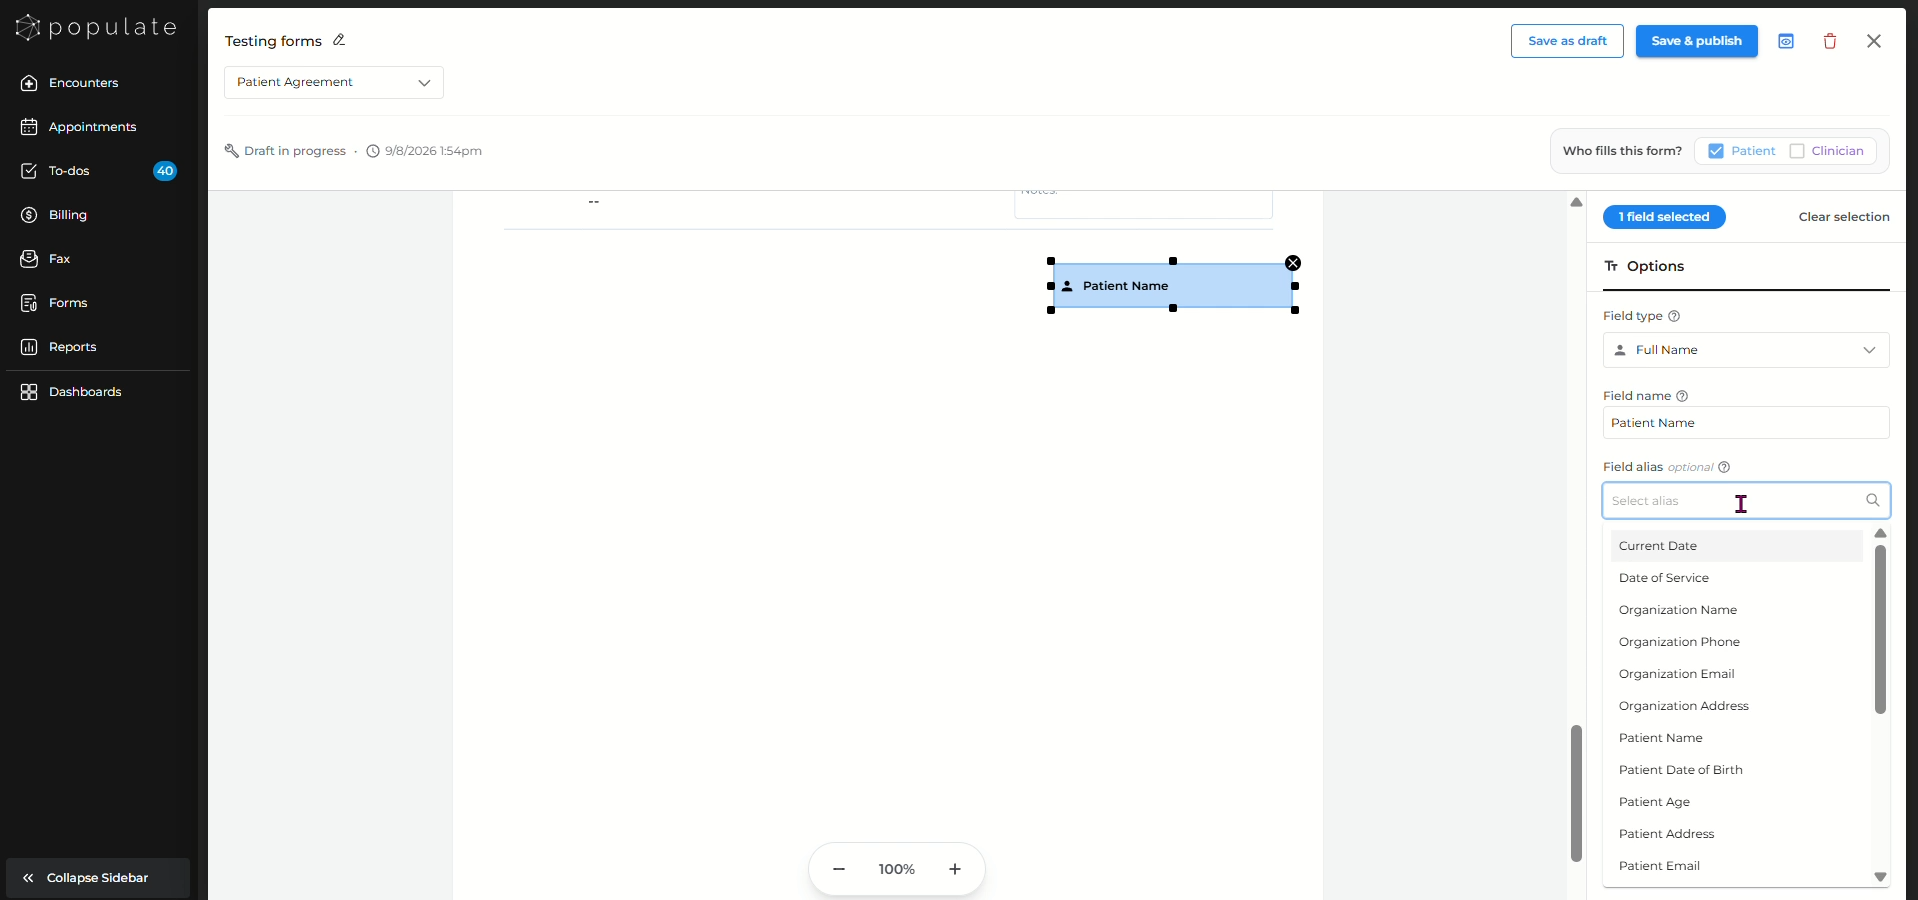
Under Field type, select the type of information you would like the field to collect. Available options include fields such as Short Text, Long Text, Date, Full Name, Email, Phone, and other patient information fields.
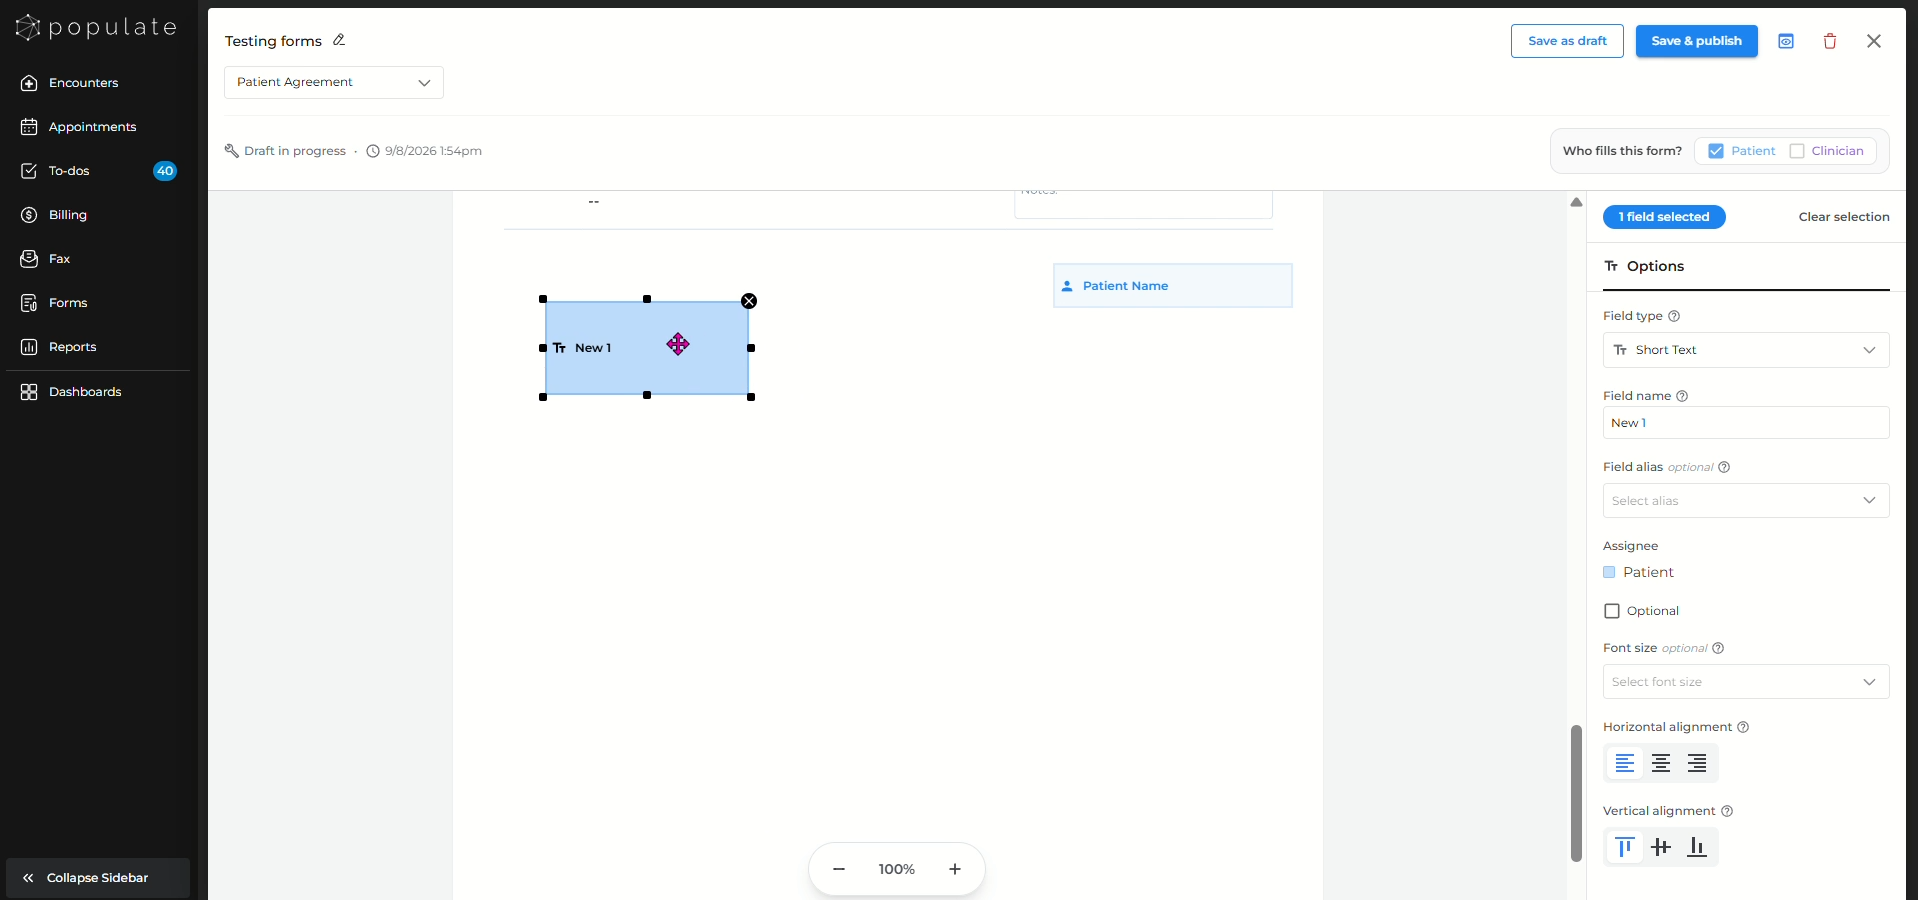
Repeat the same process for each area of the document that needs to be completed.
Drag each additional field onto the appropriate section of the form and configure its Field type, Field name, alias, and assignee. You can also move the field by dragging it across the form.
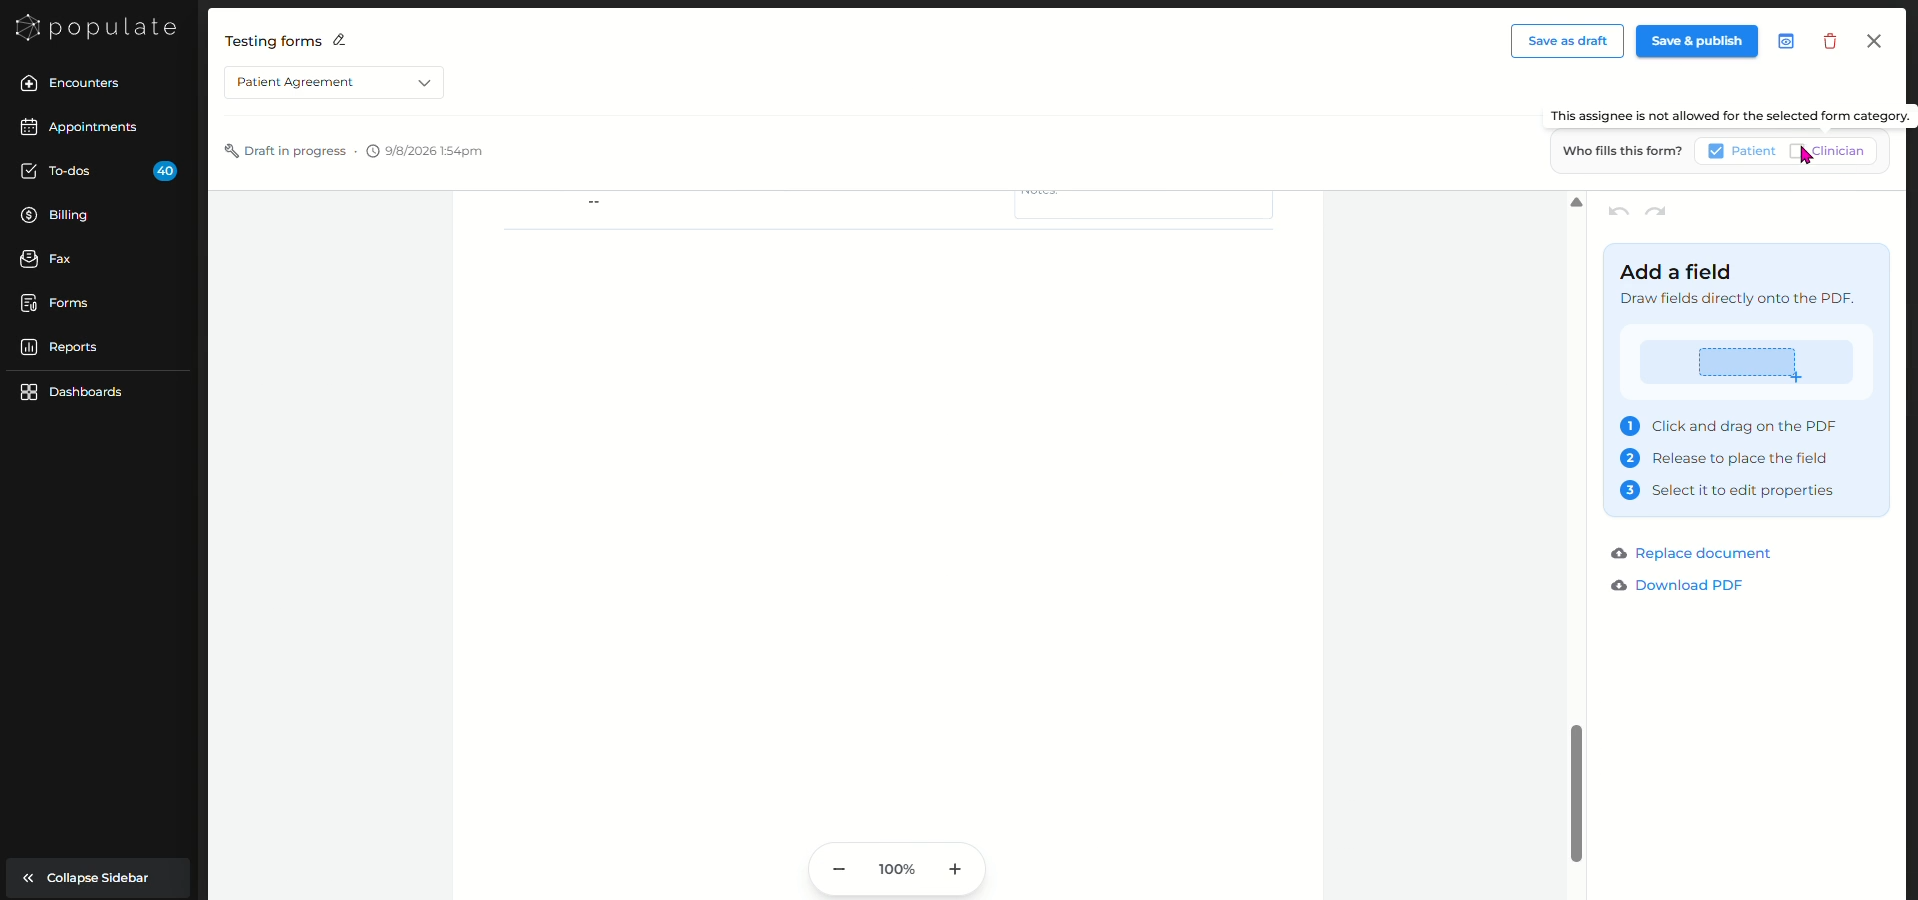
At the top-right of the builder, you can also specify Who fills this form? by selecting Patient, Clinician, or both, depending on the form.
When the form is ready to use, click Save & publish.
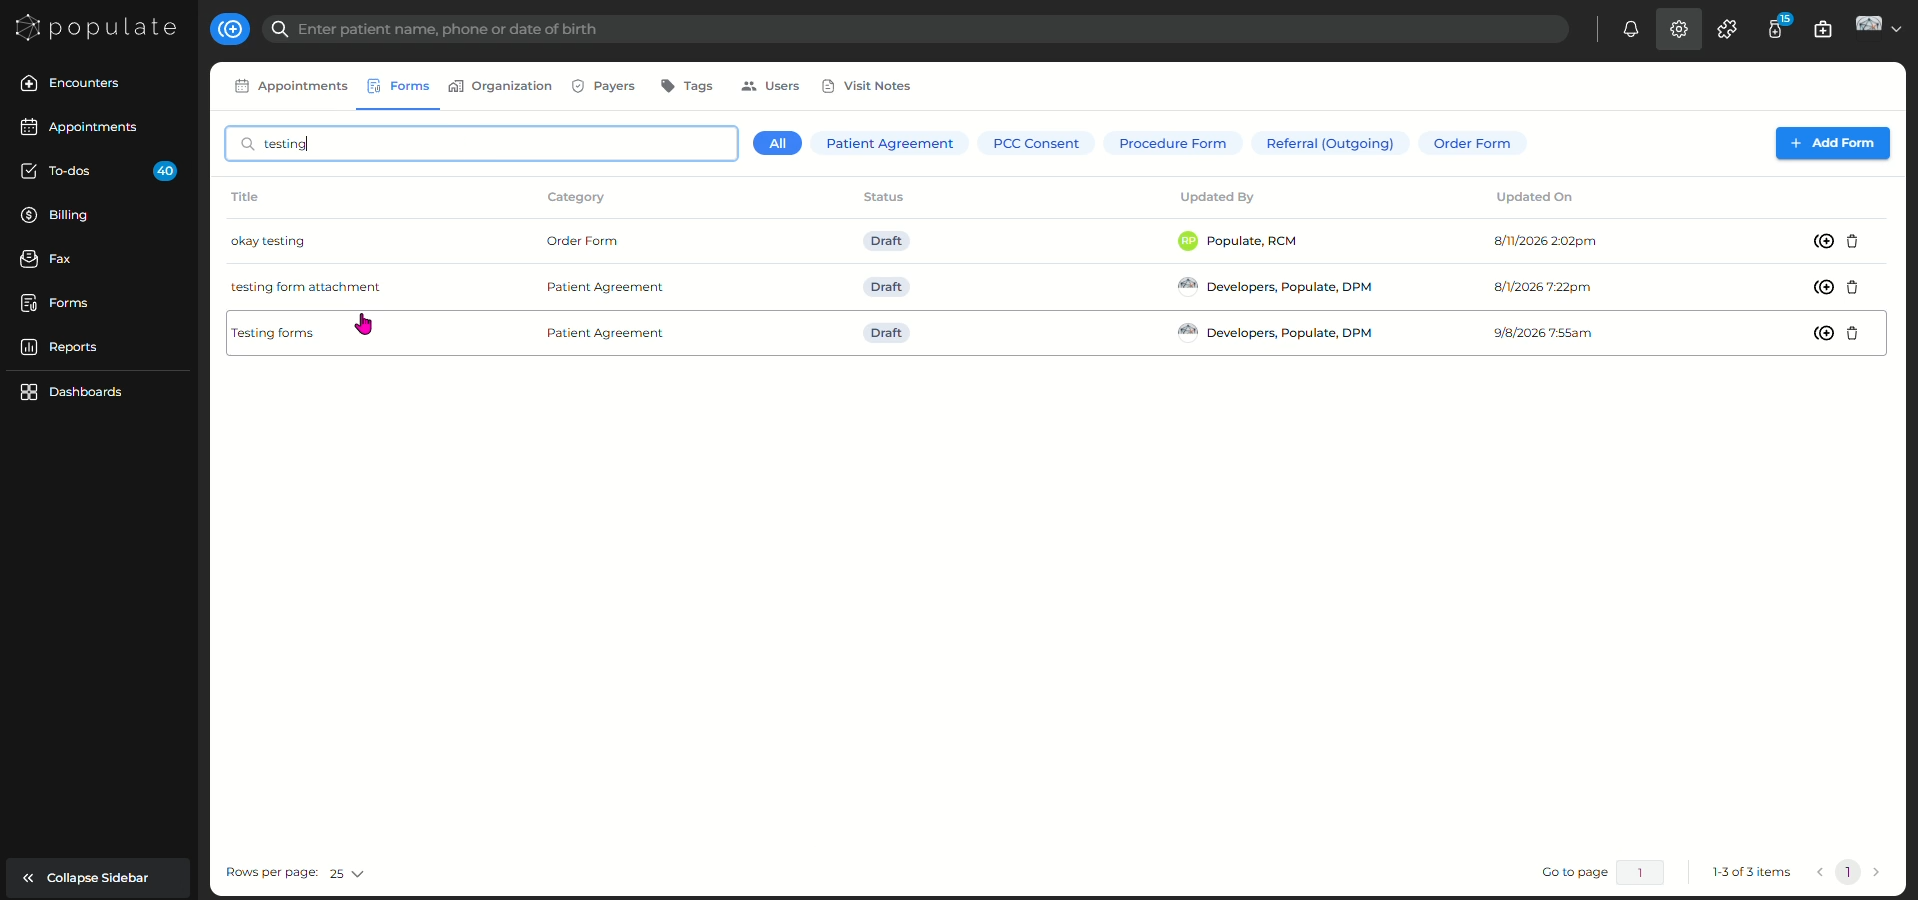
Once saved, you will be returned to the Forms page, where the newly created form will appear in the forms list. You can click on the desired form to edit it.
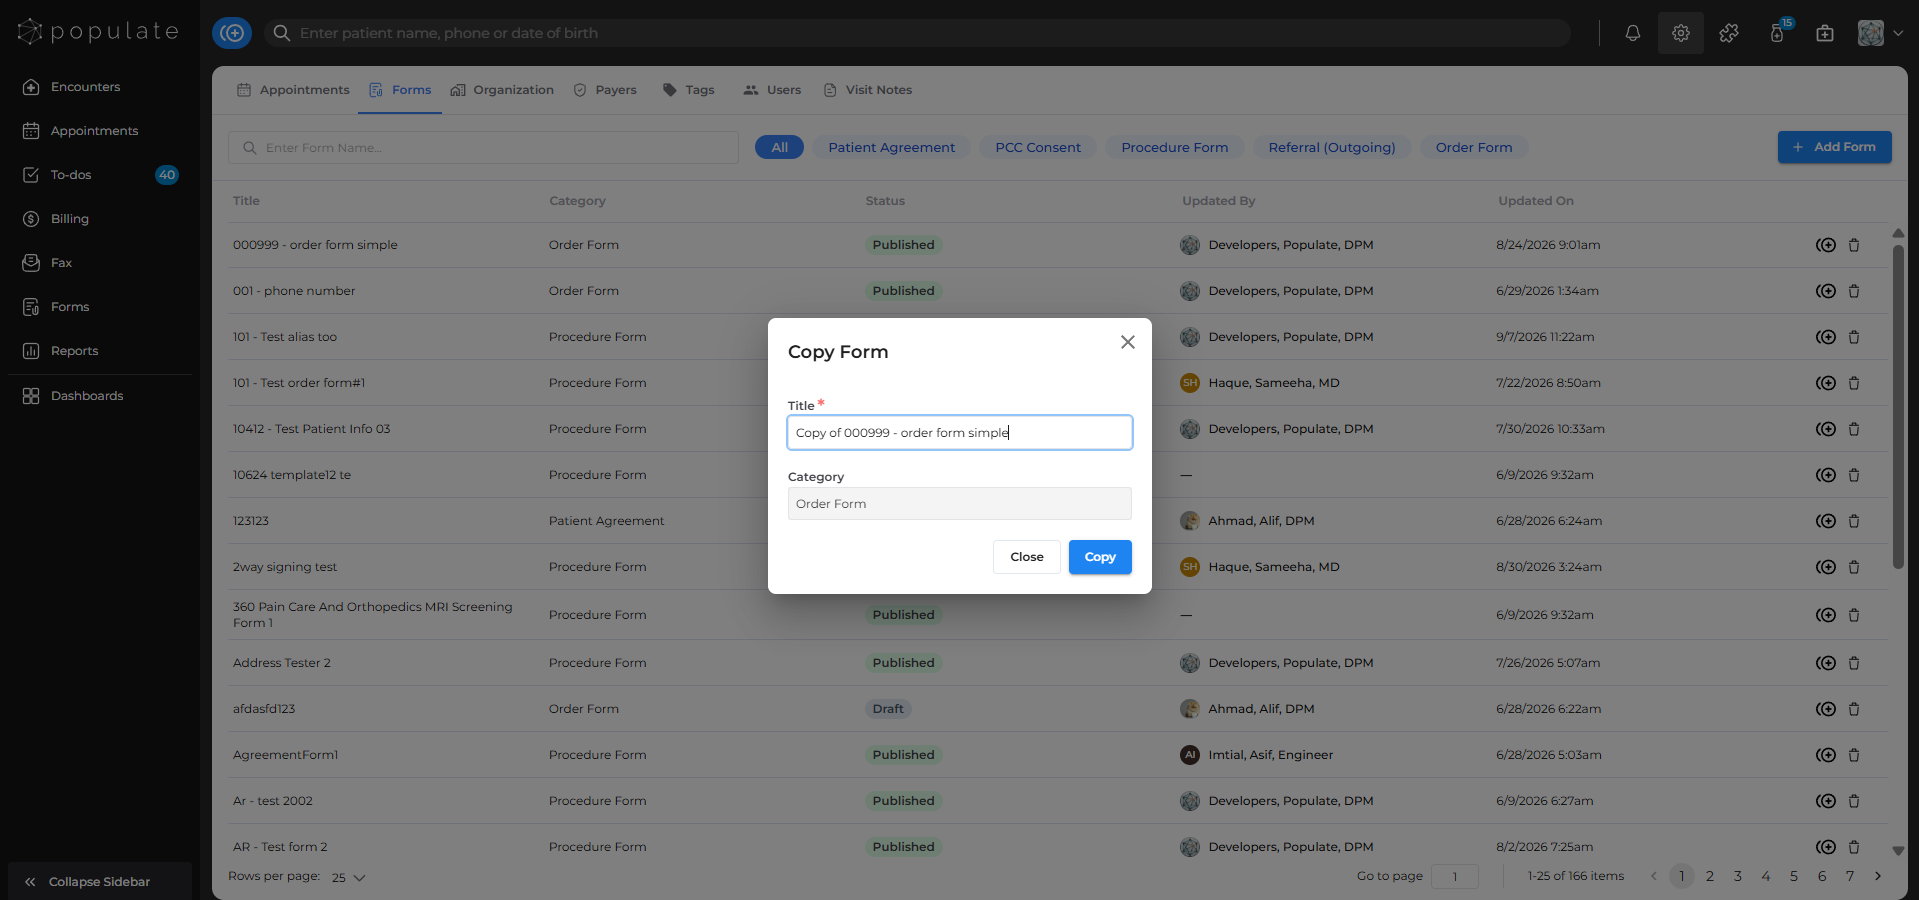
You can also Duplicate a form by clicking on the right hand button.
Change the title and category as you please and click Copy
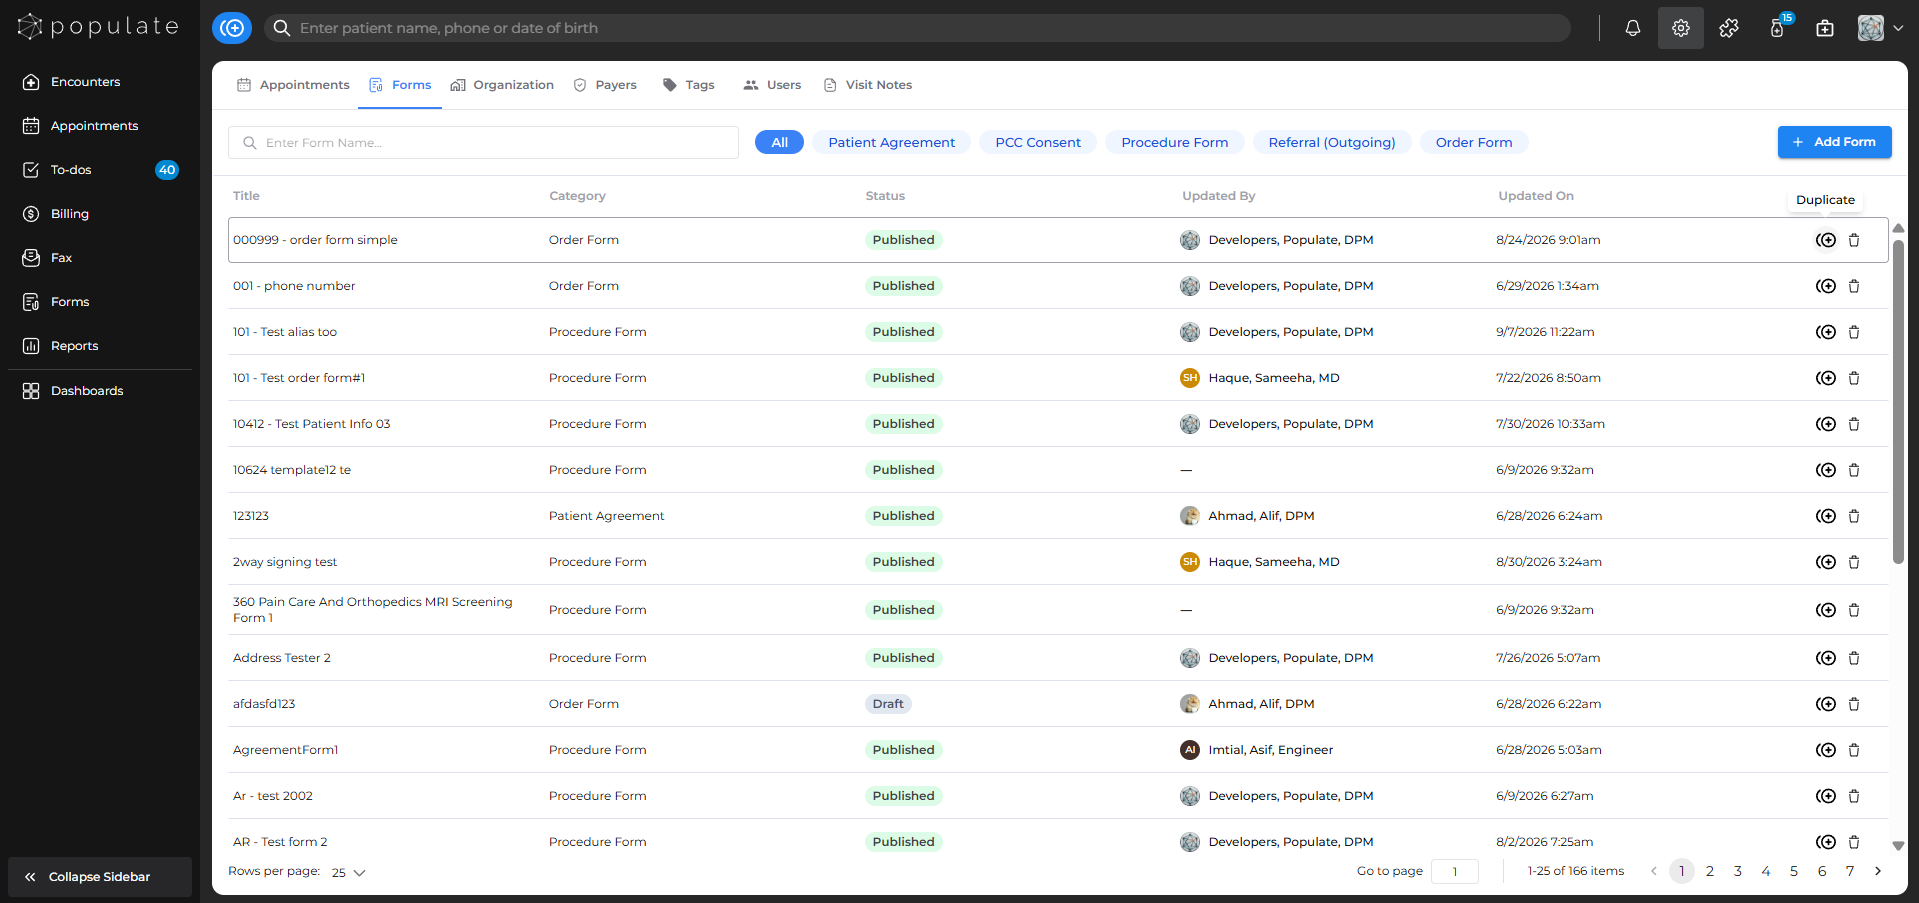
To remove a form, click the archive button beside the duplicate button.
Click the Archive button and the form will be archived.